DIY Home Clay Plastering: Kristina's Story
This time we're sharing Kristina's story – once her kids grew up, her home started asking for a refresh. Since she's drawn to all kinds of DIY projects, she came across information about clay wall plastering on social media. She's always liked "uneven" walls – she already has one big wall like that by the stairs at home, though for now it's painted with Rotband plaster.
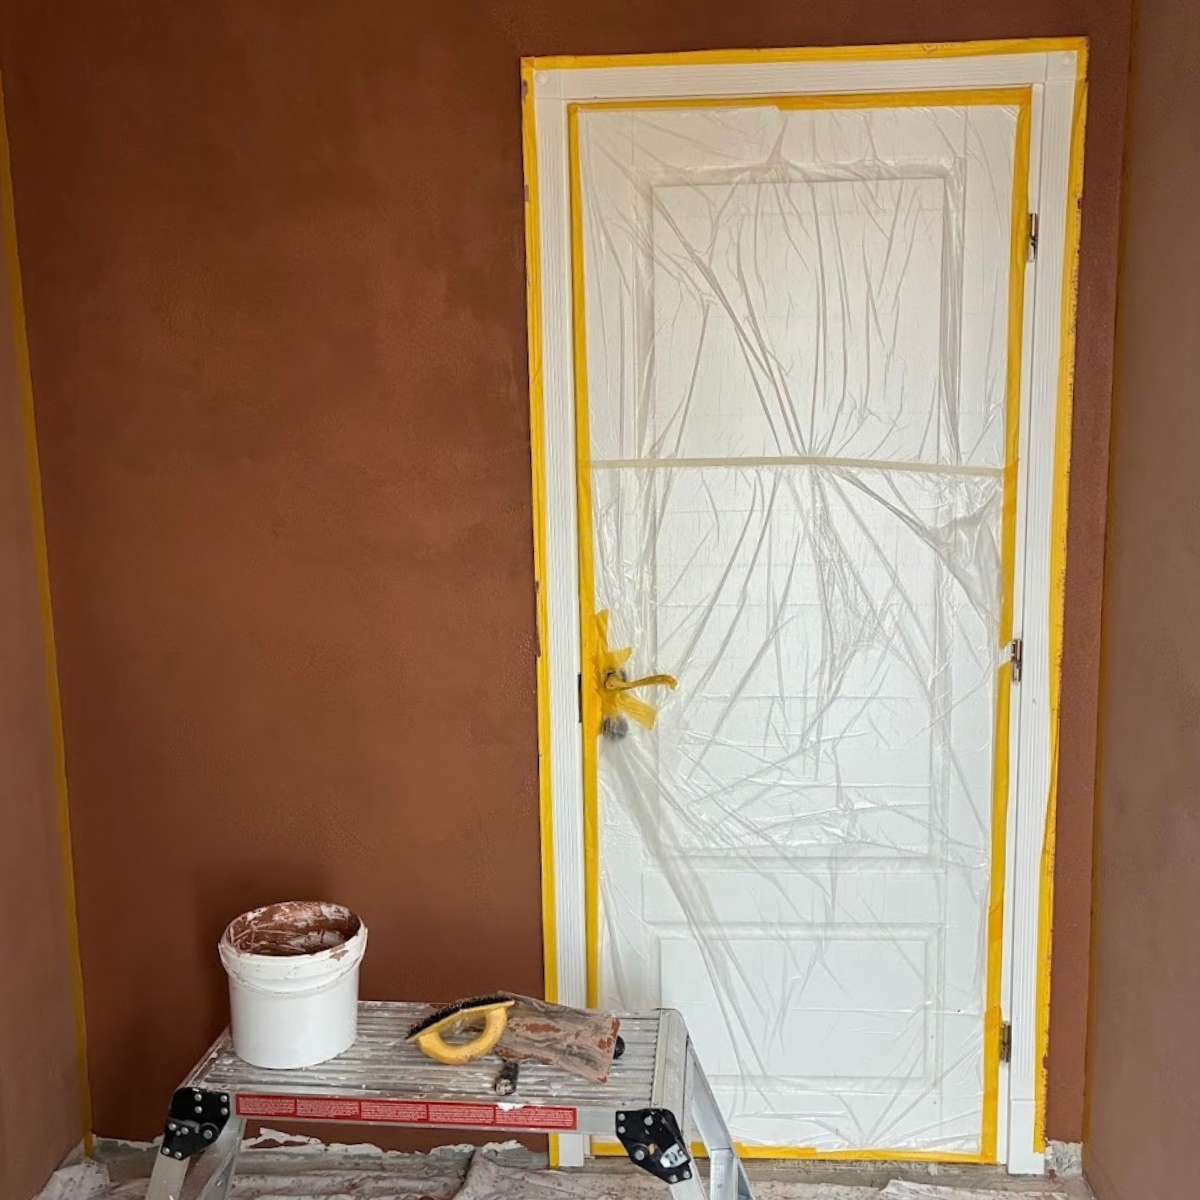
I signed up for the Module II training. Then I got to work – I plastered three bedrooms and the bathroom, and I'm now working on the living room too.
Son's room and my own "shallow volcano"
In my son's room there's an accent "vulkanas" wall. I personally love it, and I'm very happy with the result. For the next room I thought I'd do smooth walls, but... Working alone, I just couldn't get a smooth finish – you can see where the edge "dries" while I'm plastering the next section. So I dropped the smooth plan and came up with my own pattern, which I call the "shallow volcano" :) I smoothed it with a PVC trowel, and it turned out well – the unevenness looks intentional rather than a lack of experience.
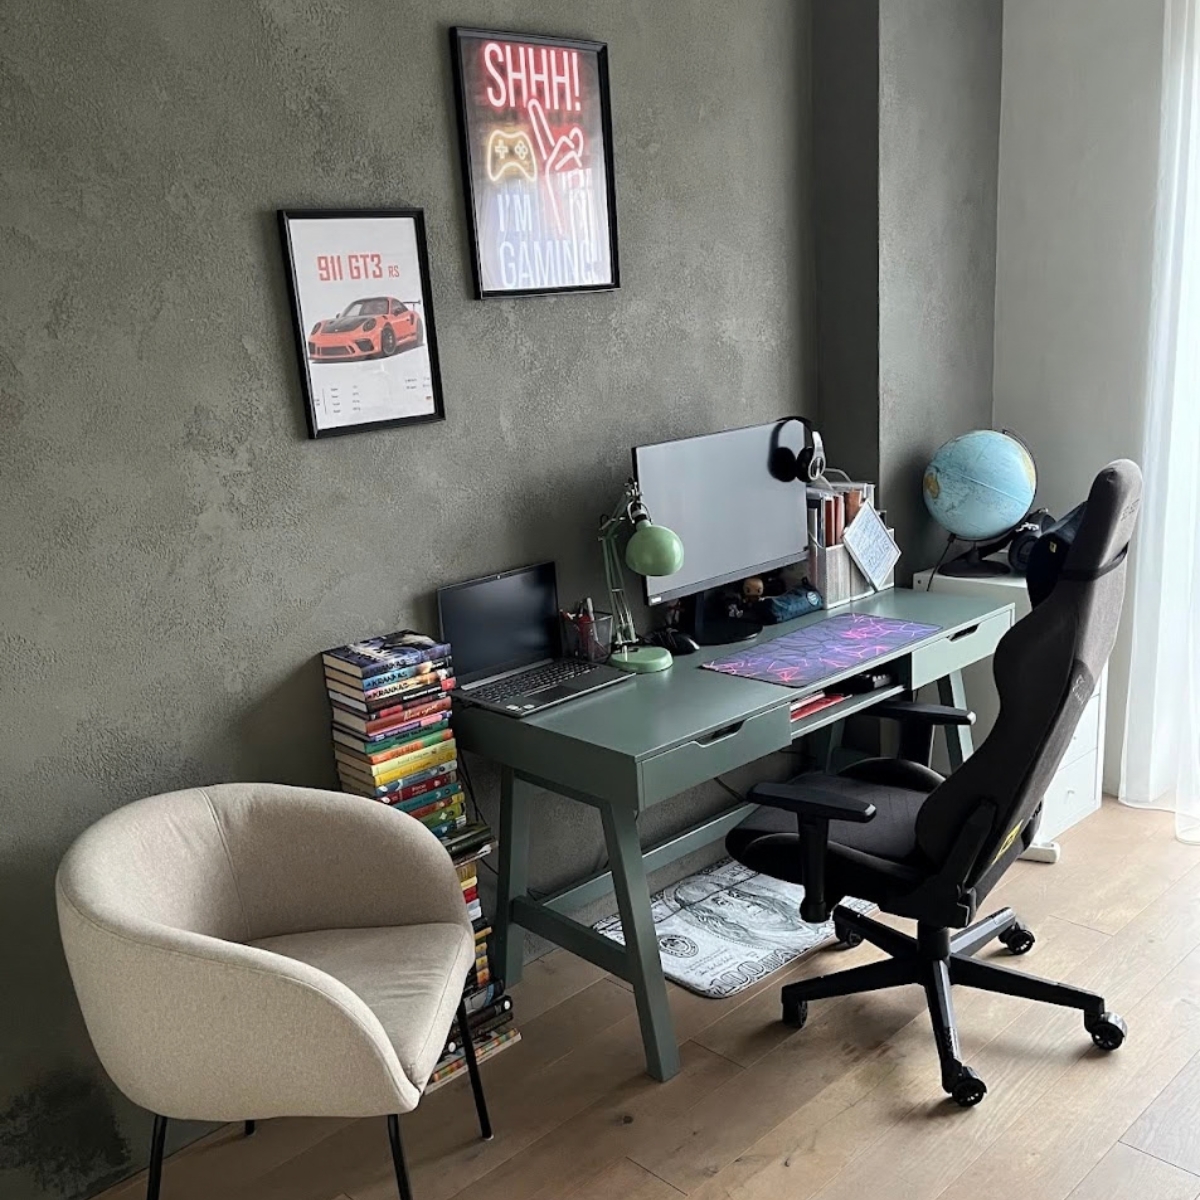
That's also where one of the funnier stories happened – I'd picked out a colour, mixed the pigment, and instead of dark grey, the clay turned heavenly sky blue... Turns out I needed to mix it with brown... So now there's a bucket of briiight blue clay at home :D
Daughter's room
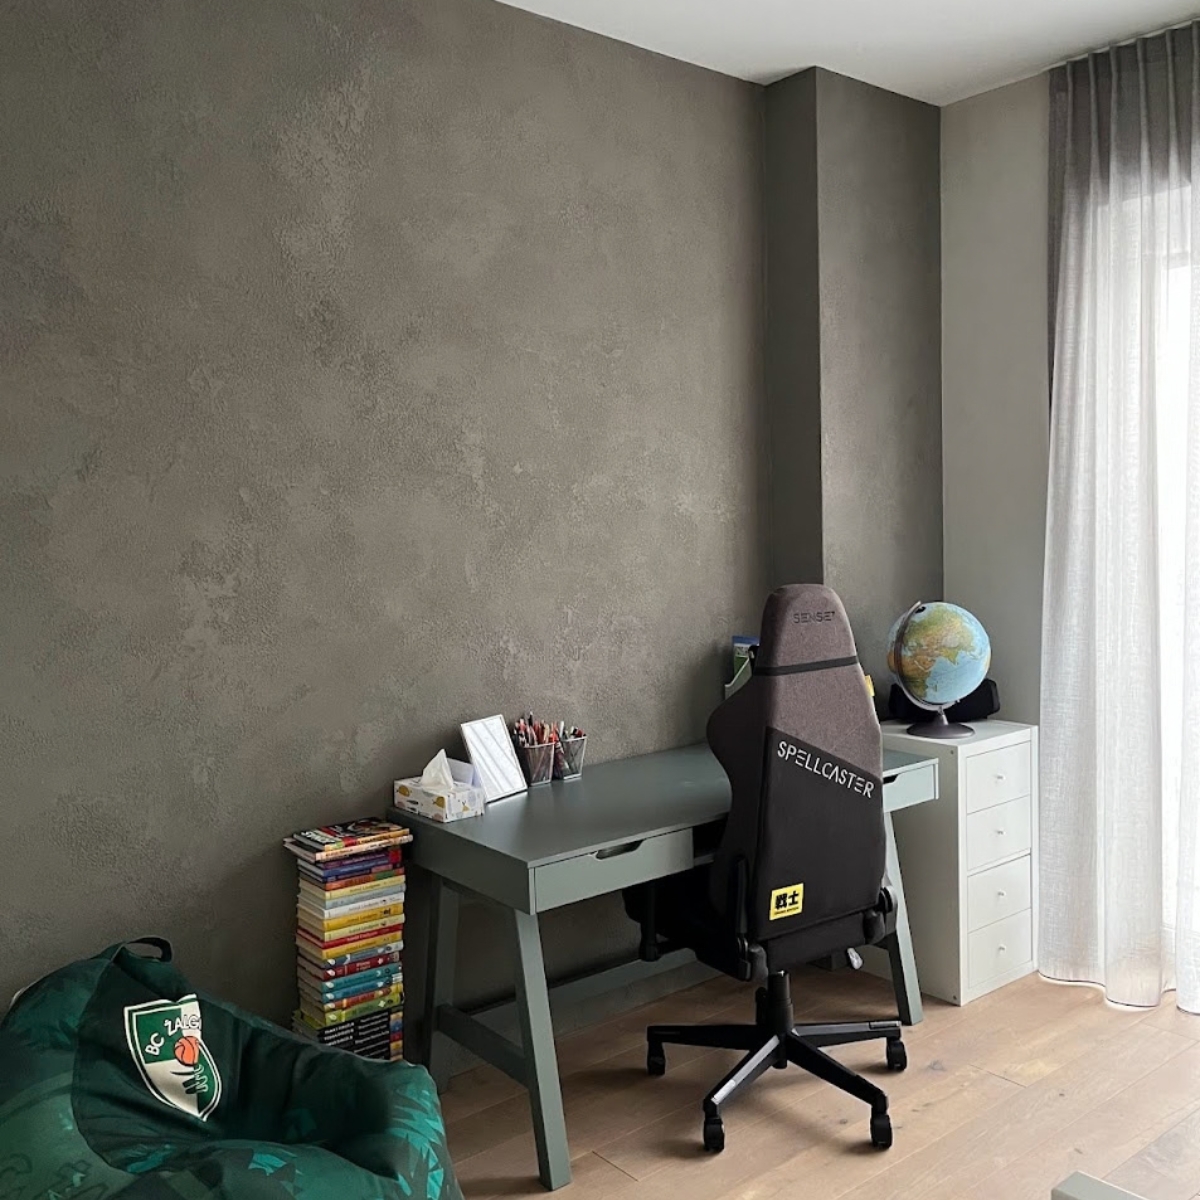
Second – my daughter's room. Planned white. For the first layer I tried using the blue one. It showed through. So I switched to white – it took about 3 layers before the blue disappeared completely. Again, my own technique (I think it's similar to the official Mr. Clay decor – a wall with effects). Anyway, a tip for beginners and non-professionals – work with white clay as much as possible, it's the most forgiving of inexperience :)
Bedroom
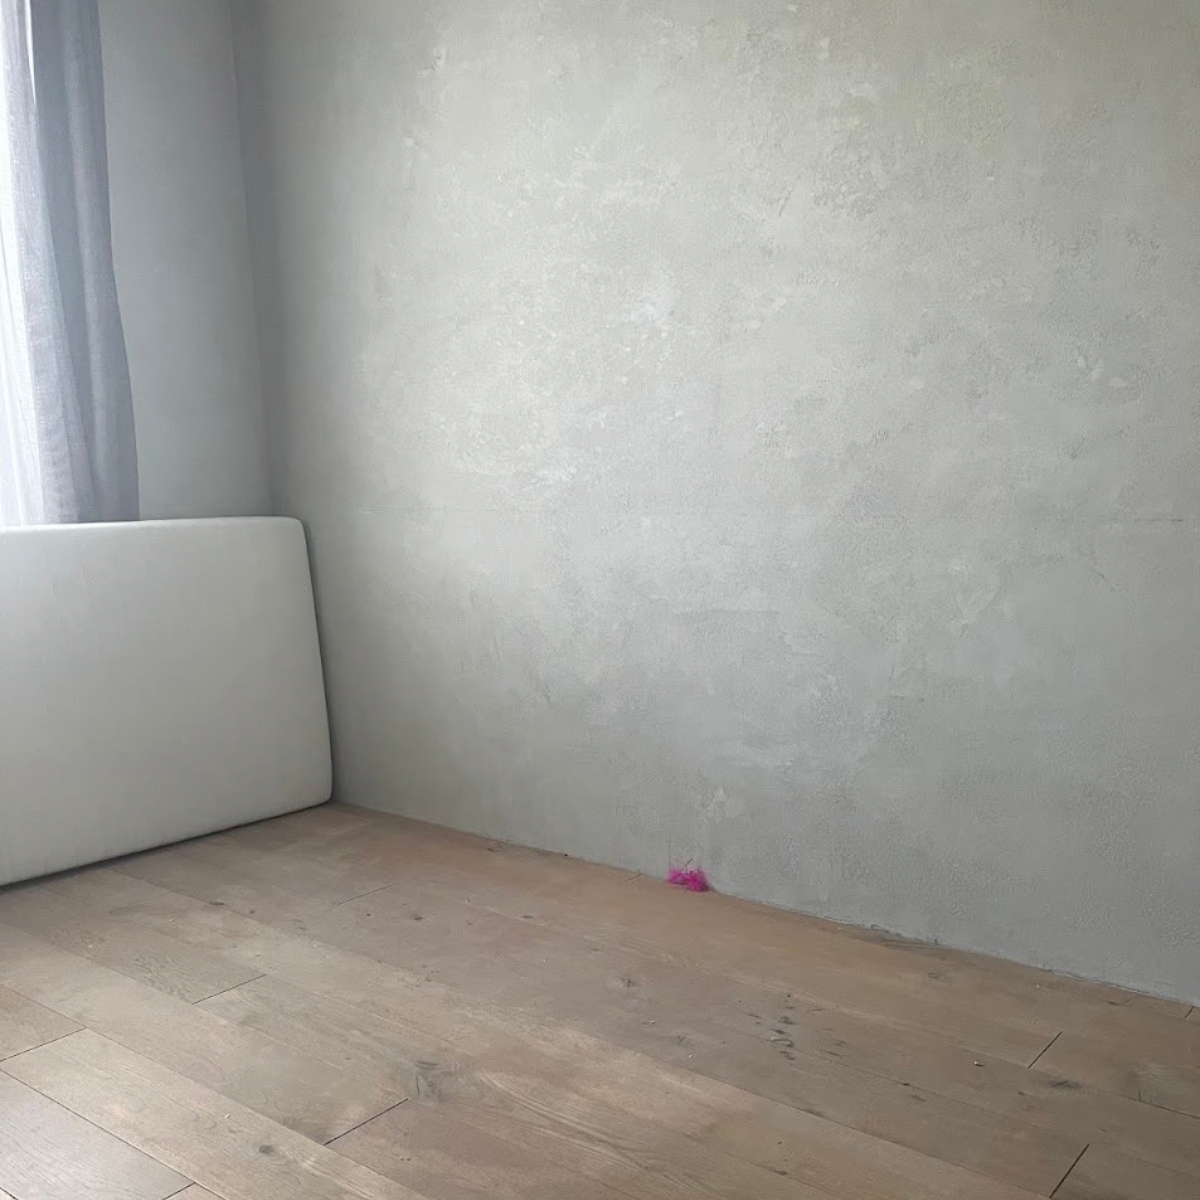
The bedroom – also done in white. It was all easy by then, finally the third room :)
Bathroom
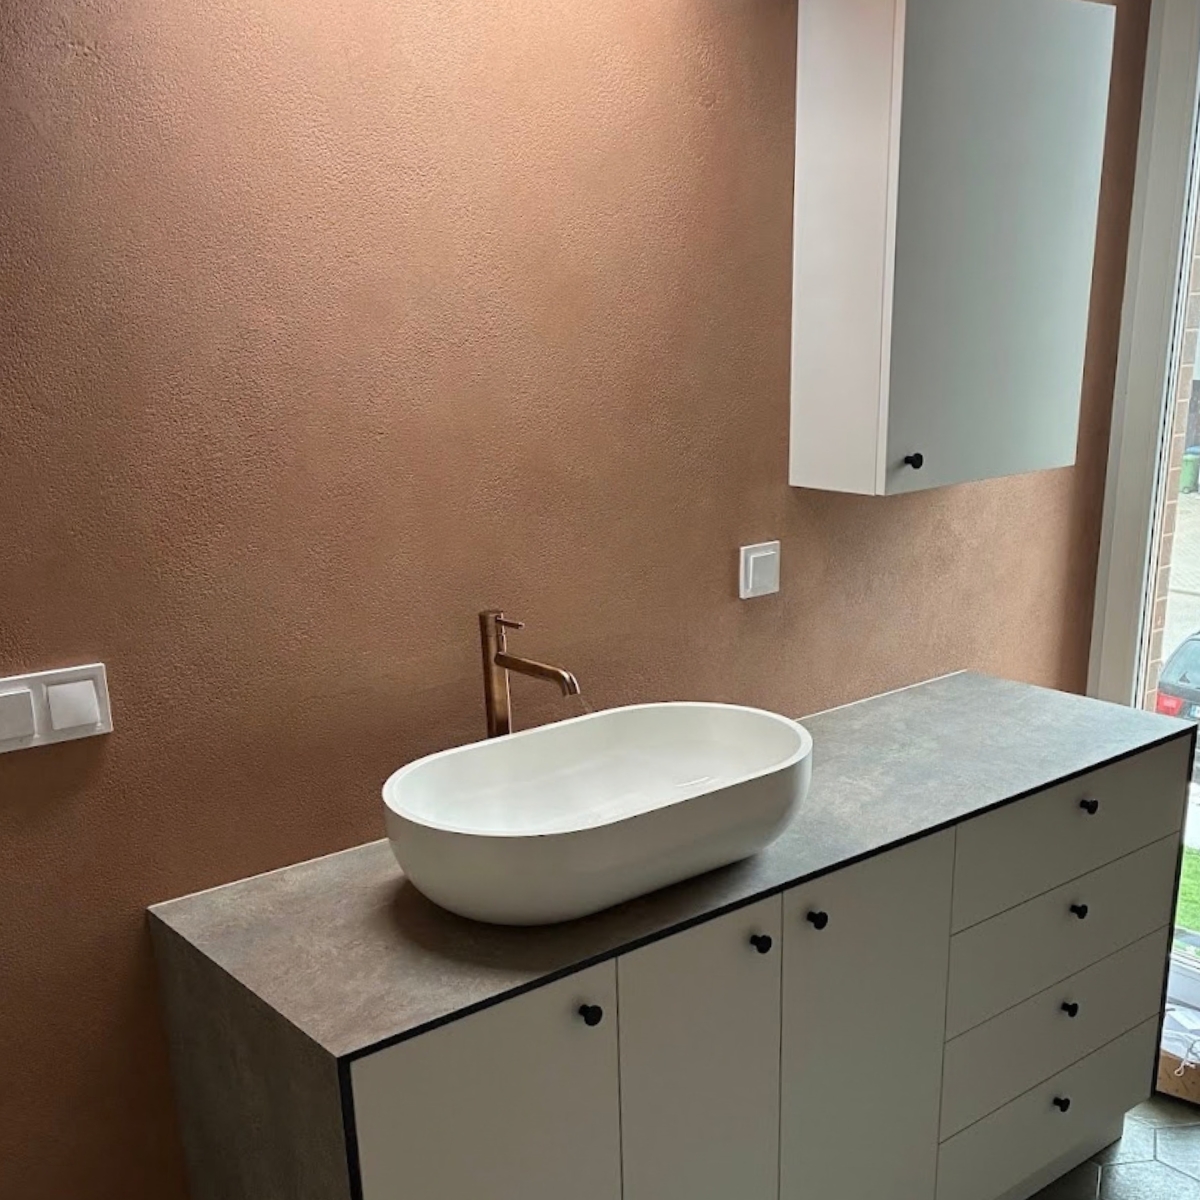
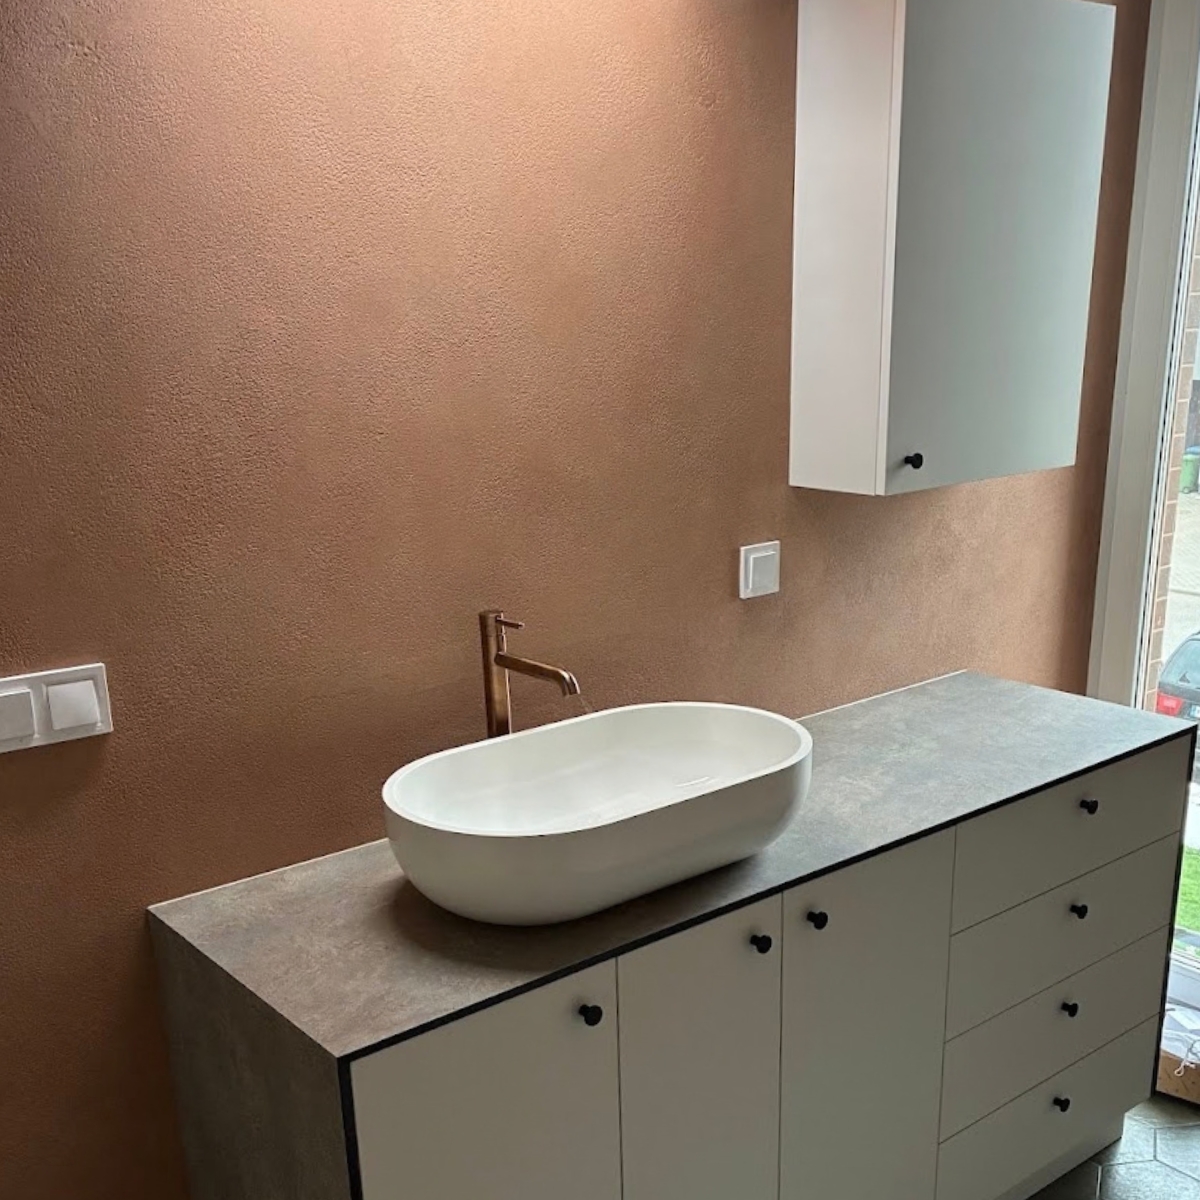
The most recently plastered room was the bathroom – the walls not next to the bathtub. Again my favourite "vulkanas" and a warm terracotta colour. I used the new varnish. My son's room walls are coated with a glaze, but if I were doing it again now, I probably wouldn't coat anything except the bathroom walls and maybe the hallway walls.
Future plans
Next up – the big wall by the stairs. An accent wall. The hallway is also waiting its turn – something forgiving of stains and damage, since, well, it's a hallway. Clearly there's plenty more new experience to be gained – I haven't decided on the technique for these walls yet :)
Tips for those considering it
Would I do clay walls again? Yes, and yes again. The best part is that if I ever decide to re-plaster – it's cheap, quick, and over a weekend the room feels brand new :) my creative hunger is satisfied, and the home feels refreshed.
What would I want from Mr. Clay? Women-sized bags... 25 kg, water – there's definitely some wrestling involved with that much material. Although by now I can even mix white clay by eye, I understand what consistency is needed. But if the plan is to plaster with colour – then it's 25 kg and no other way...
A heartfelt thank you to Kristina for her story and photos – the clay plaster walls look absolutely wonderful! As for those 25 kg bags – message received! We'll look into a more convenient, "woman-sized" package, so next time mixing clay doesn't double as a workout :) See you at our trainings! :)
Want to try it yourself?
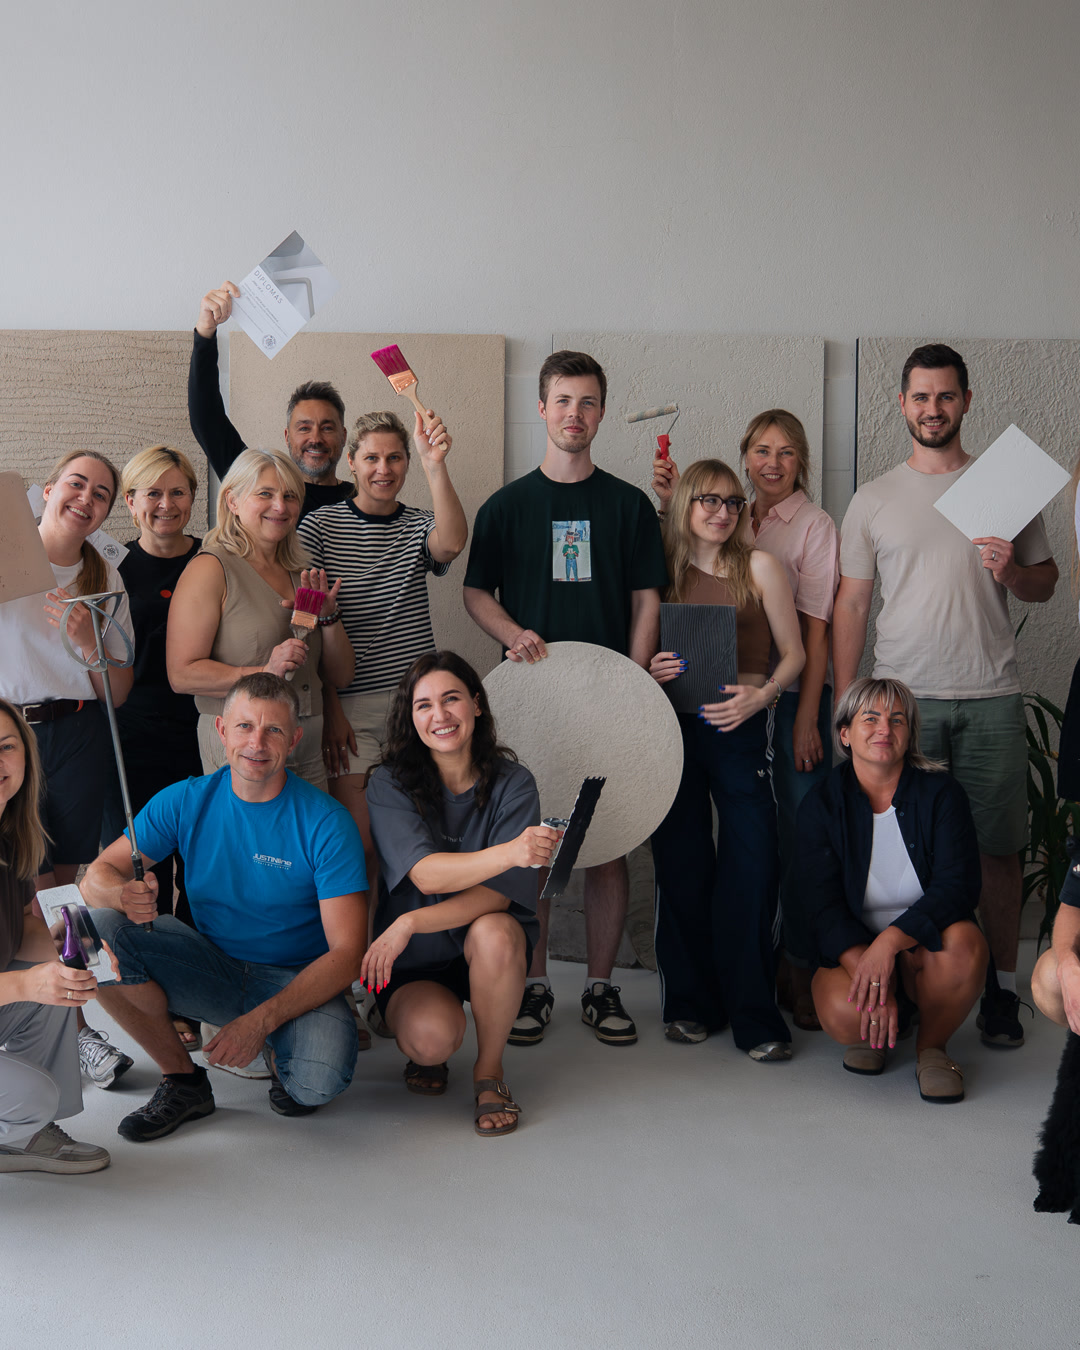
If Kristina's story inspired you too – sign up for training and learn how to plaster with clay in your own home.
Products you'll need
MR. CLAY decorative clay plasters – suitable for both walls and creative projects.
Colour pigments for clay plaster – if you want to tint the mix in a chosen colour.
Primers and varnishes – for surface protection and the final finish.
Related Posts
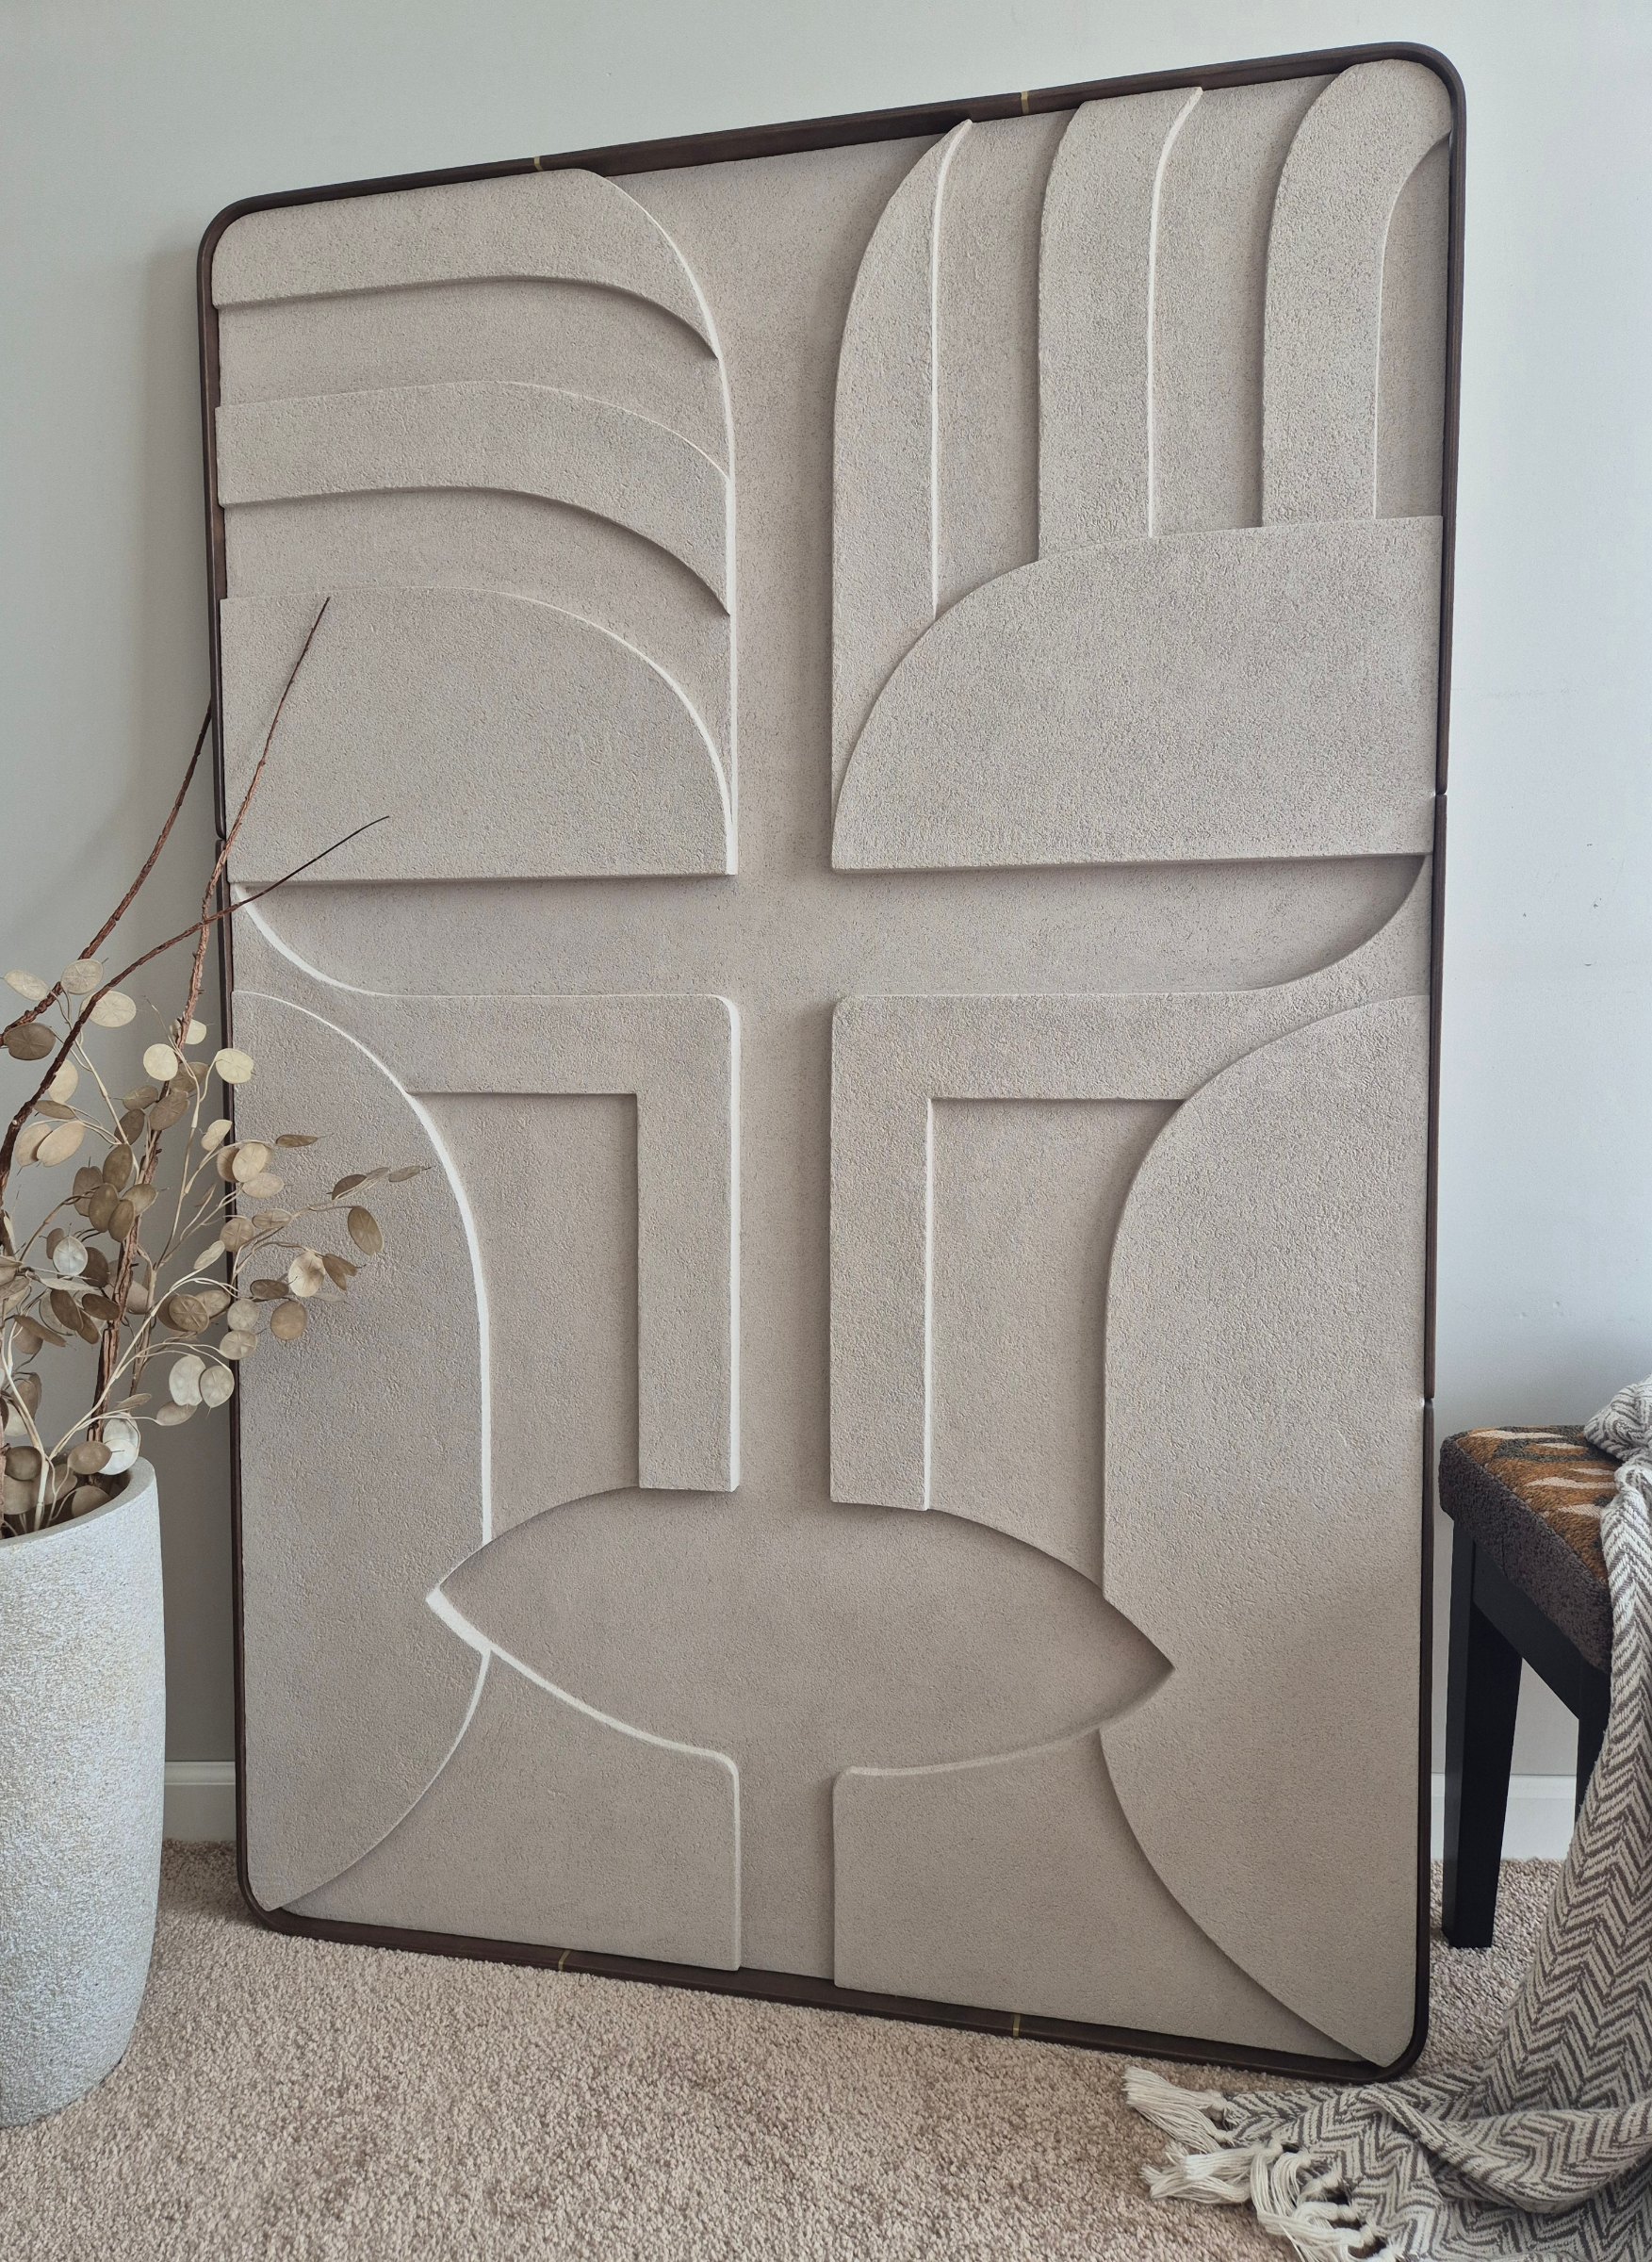
This time we're sharing the story of Ada, a sustainable creativity and ideas enthusiast — she creates durable textured relief paintings, coating her silhouettes with MR. CLAY's clay plaster.
This time we're sharing the story of a client who is building a home for his daughter. He decided to decorate around 100 m² of walls in the living room, home office and entrance hall with MR. CLAY's ClayBeton decorative plaster.

Your wall could inspire someone else to take the leap. Tell us how decorating with MR. CLAY products went and get a €150 workshop voucher.
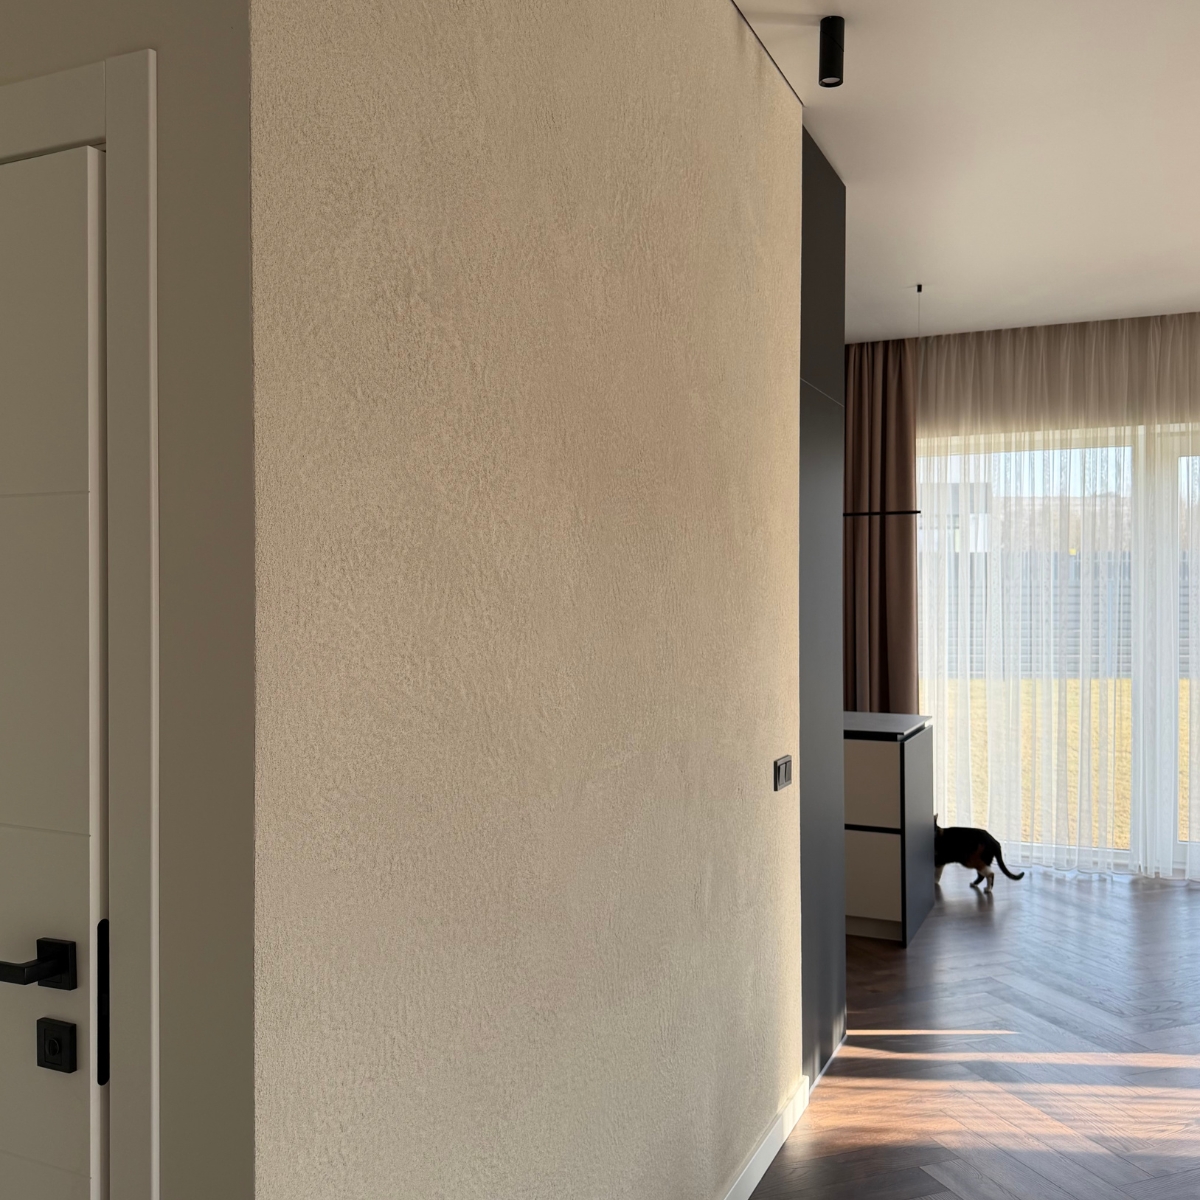
After our workshops, Laura decided to try creating the Sand Dunes wave decor with clay plaster herself. Although she made some mistakes at first, they ultimately helped her achieve an even more striking accent wall.

Evaldas used clay plaster on the anteroom, ceilings, doors and furniture fronts of his sauna house - but not on the steam room or the shower area. How it holds up after a year, and where the limit shows.
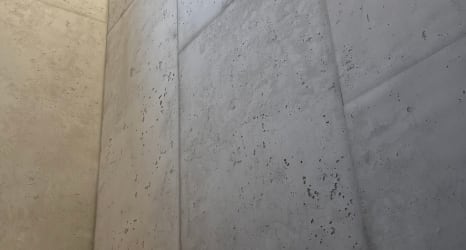
Sandra and her husband had no experience at all, yet they plastered their staircase wall with the ClayBeton mix themselves. How it went, what was hardest, and how the result looks.
Help others discover the joy of natural wall finishes – share your experience working with clay plaster, and we’ll gift you a €150 voucher for any of our wall decoration training modules. You can use it yourself or give it to a friend!