Bangelių dekoras Lauros namuose
About the Project
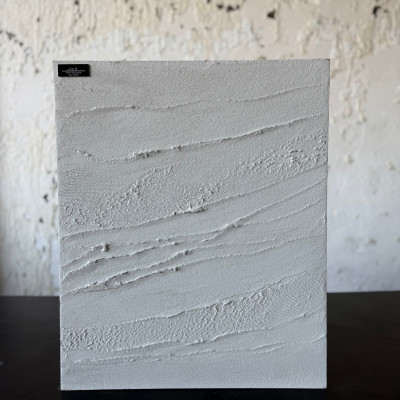
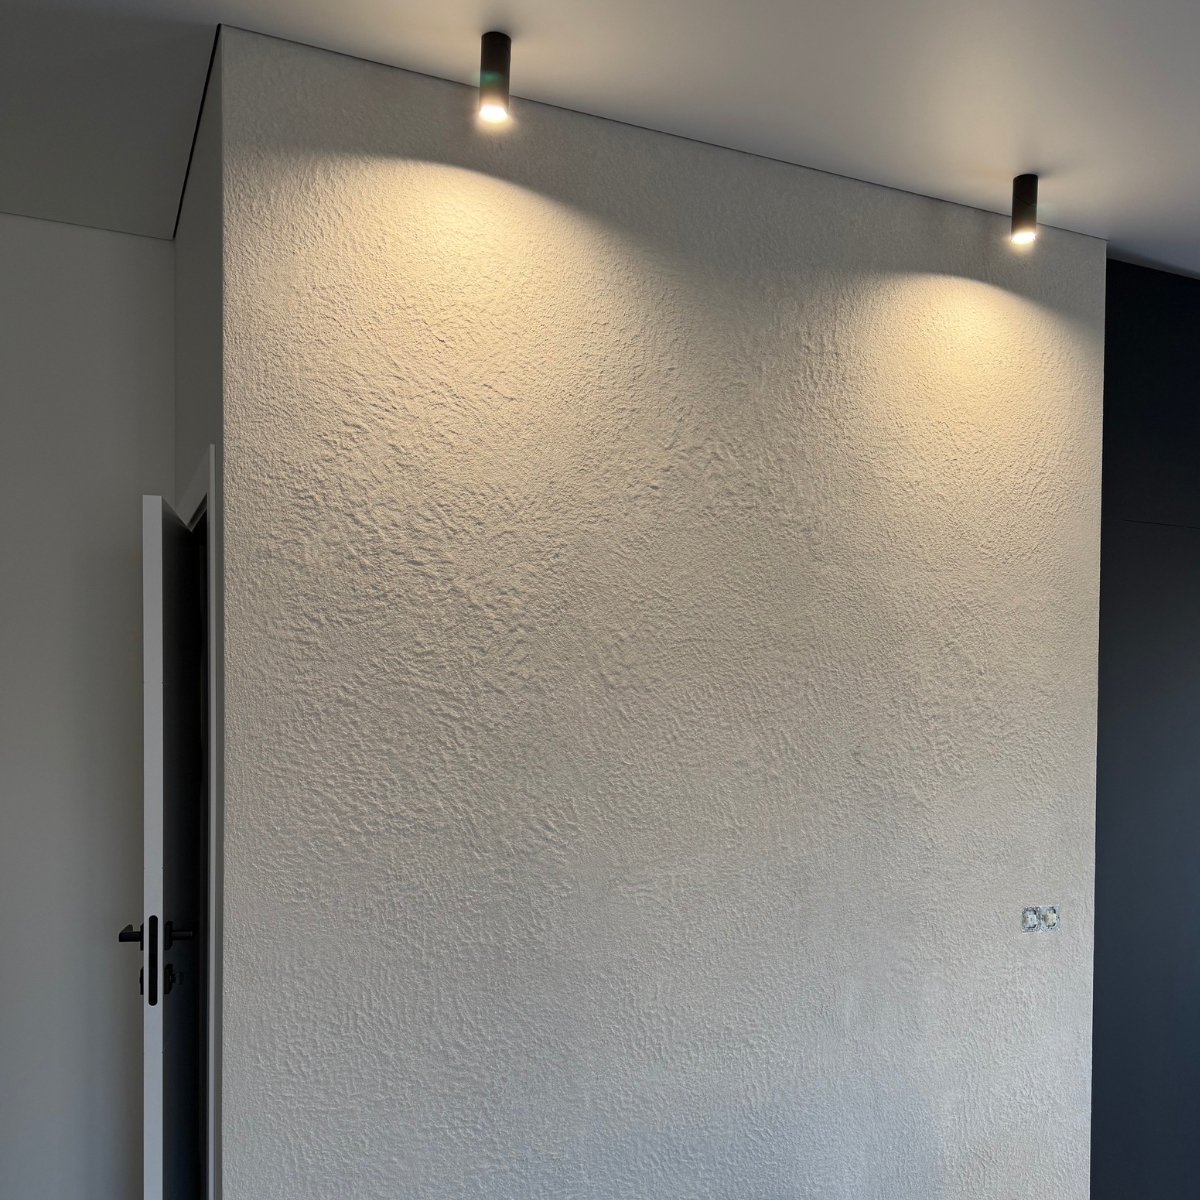
I’m someone obsessed with all kinds of home projects, constantly living in a world of decorating, cozying up, renovating, and setting up my home. A few years ago, we bought a house that, although newly finished, lacked character. One of the biggest challenges was the main living room wall—it looked dull and empty, and it even developed cracks from the house “settling” in the first few years. Since we weren’t ready to renovate the entire house, I decided to try my hand at clay plaster and use this wall as an experimental project. For the decoration, I chose the “wave” technique.
Why I Chose Clay Plaster
Pinterest and Instagram, my main sources of interior inspiration, introduced me to the aesthetic side of clay plaster in interiors. Mr Clay’s Instagram account ultimately made me fall in love with this material. Naturalness, the warm feeling it gives a room, and its forgiveness for mistakes were the main factors behind my choice.
My Experience Working with It
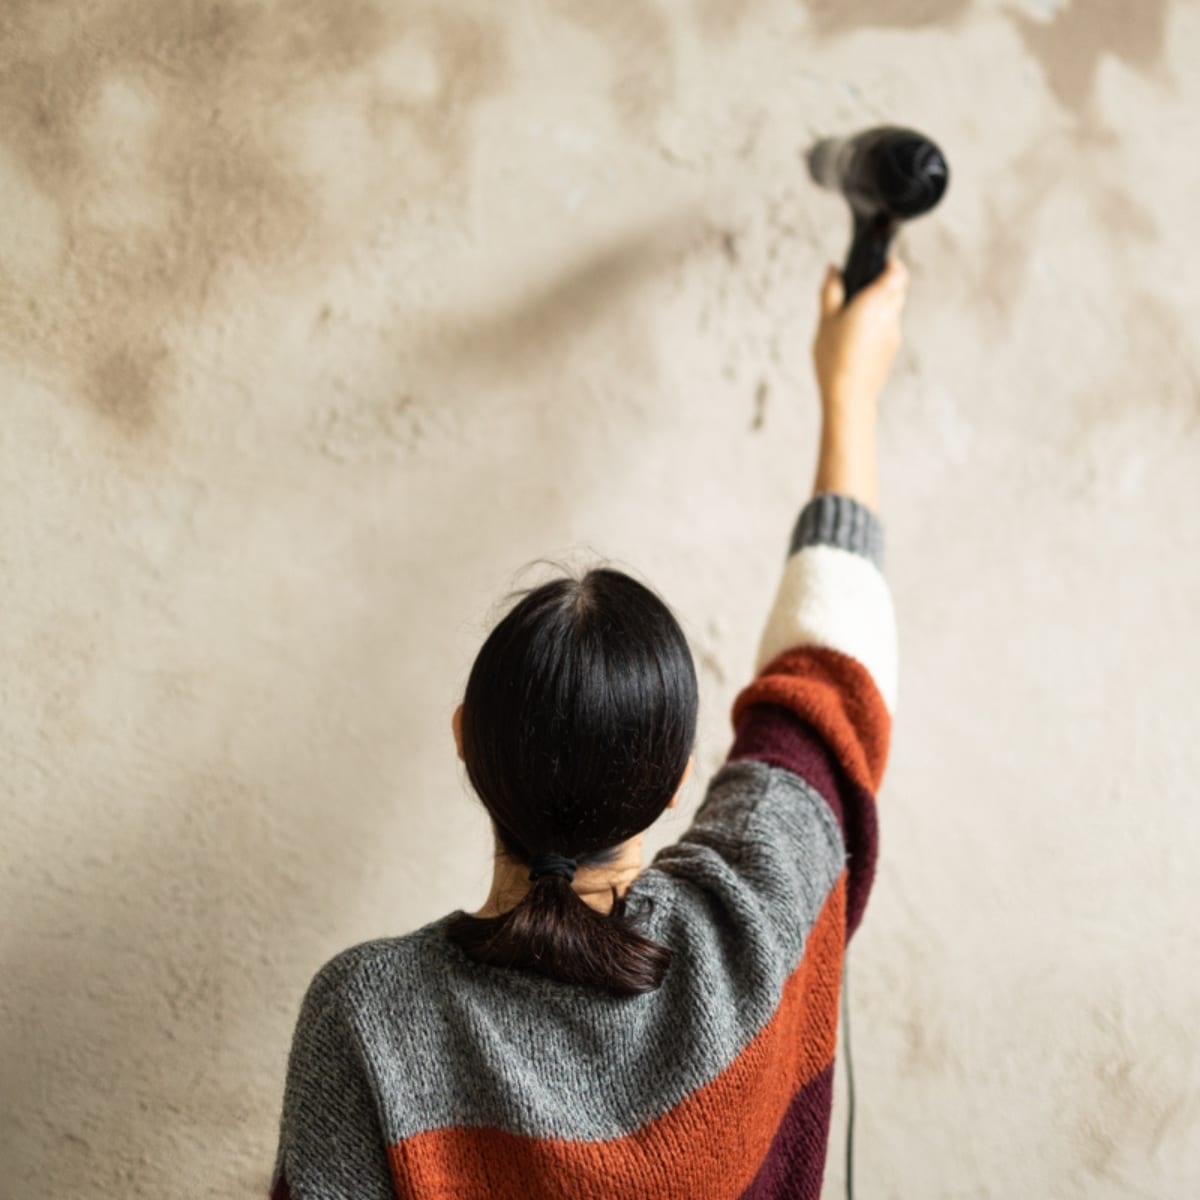
Since I didn’t have much experience, I decided to participate in Mr Clay’s organized workshops. The wall was small, so I plastered it alone, while my husband helped manage the logistics of a 25 kg plaster bag—a task I probably couldn’t have handled alone. The hardest part for me was accepting imperfection. When applying the first layer, things didn’t go perfectly, especially achieving clean corners and edges, which required a bit of skill.
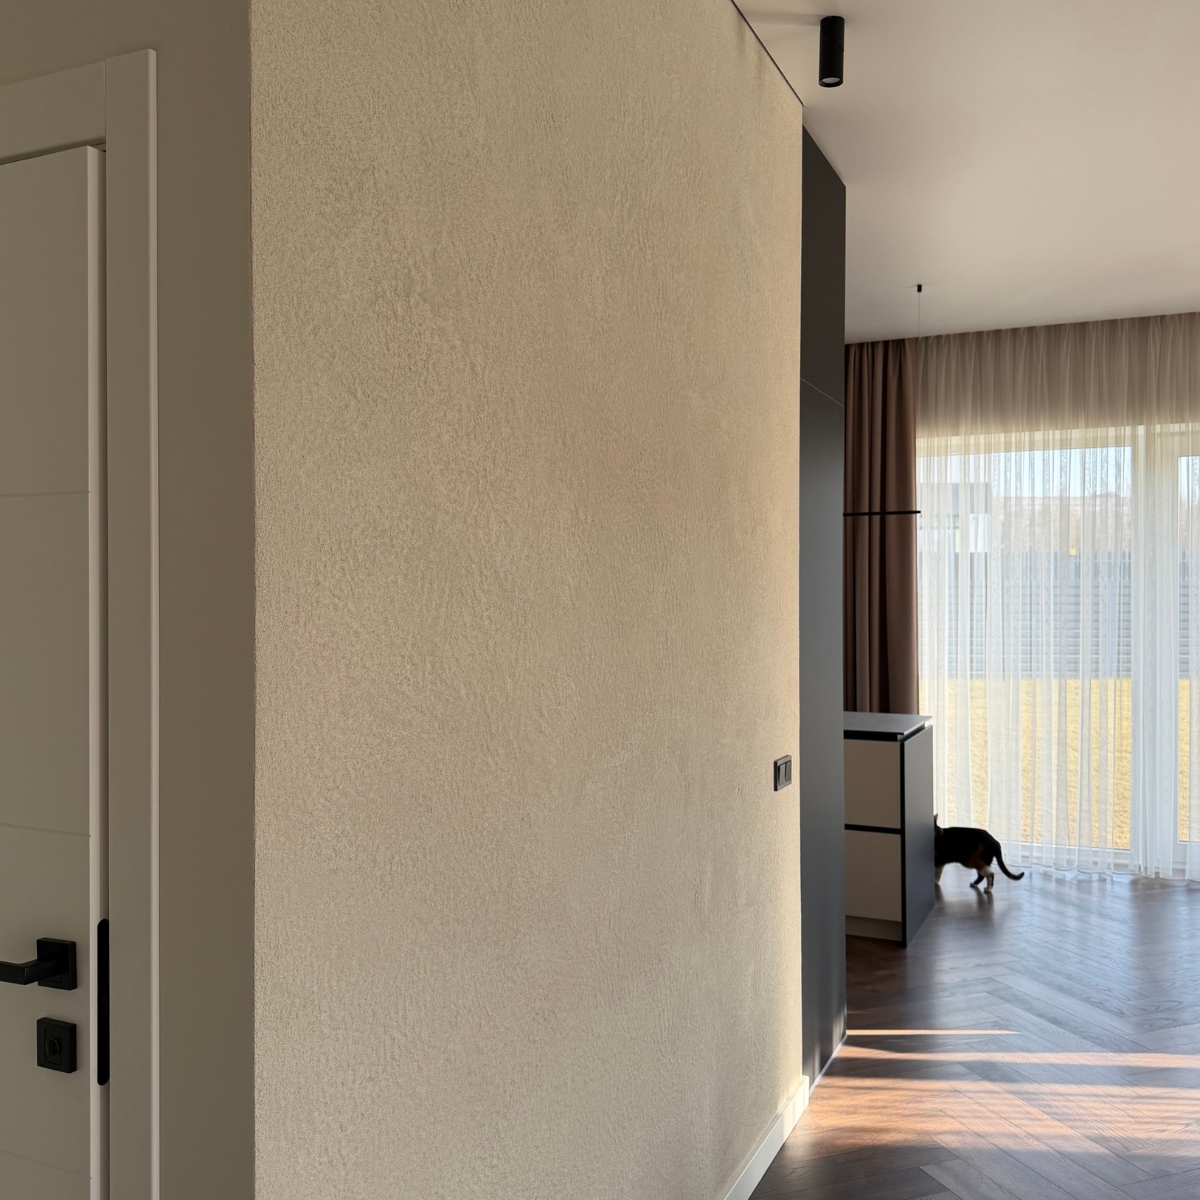
During the second layer, I unleashed my inner artist and created the desired pattern. I wanted the waves to be more pronounced, so I applied the second layer generously and shaped it carefully. Unfortunately, the result wasn’t immediately satisfying, as some areas of the plaster cracked when dried. I tried using ChatGPT to help fix my mistakes (which I highly recommend not doing!) and attempted to rehydrate the cracked areas with a spray and smooth them with a brush. However, this backfired because the pigment washed out in spots, leaving visible marks after drying.
At that point, I decided to ask for help and called Raimonda, who reassured me and suggested applying a third layer. With a clearer understanding of how clay plaster works, I did as advised, and the result was even better than I expected! The third layer fixed the previous “mistakes,” and the thicker second layer gave the waves a more pronounced texture, just as I wanted.
Unexpected and Fun Moments
I’ve already mentioned the surprises, but the process was enjoyable because clay plaster is a friendly material that’s easy to clean up and fix. This is very important for someone like me, a beginner.
The Result
I’m very happy with the result. The only downside is that I can’t stop thinking about what else I could plaster at home!

For the Future
Even though I made mistakes, I wouldn’t change anything, because those mistakes helped me achieve an authentic and desired result.
A piece of advice I’d give to others—and would likely use myself—is to try the technique on a smaller plaster piece first, to see how the material looks when dried with the desired amount applied.
The most important message is not to be afraid to experiment—clay plaster truly forgives mistakes!
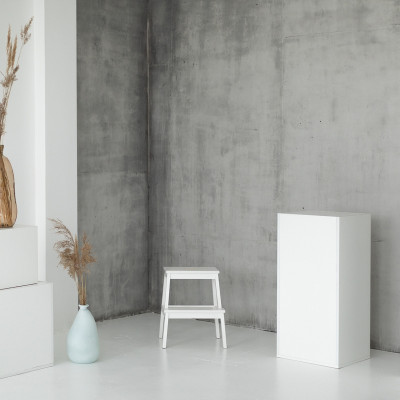
Related Posts

Read about how Evaldas managed to cover the walls of the sauna with clay plaster and what challenges he faced when plastering the doors and furniture.
Sandra and her husband's work has nothing to do with wall finishing, but their example proves once again that with our products, you can do your own wall finishing.
Help others discover the joy of natural wall finishes – share your experience working with clay plaster, and we’ll gift you a €150 voucher for any of our wall decoration training modules. You can use it yourself or give it to a friend!
Help others discover the joy of natural wall finishes – share your experience working with clay plaster, and we’ll gift you a €150 voucher for any of our wall decoration training modules. You can use it yourself or give it to a friend!
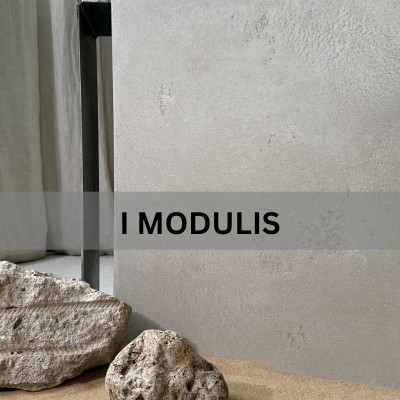
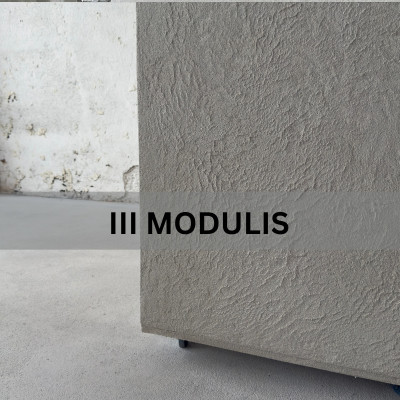
Related Products