
Single-color plastering of all walls and ceilings with decorative clay plaster is a very beautiful and rapidly growing alternative to conventional wall painting. Today in Lithuania, there are many professional craftsmen who offer this type of finish, but the best part is that anyone who is willing and has the time can truly do it themselves. Read all our recommendations to achieve the best possible results.
Clay plaster brings a great sense of warmth to any space, with softly perceptible, gentle shading. We recommend plastering both the ceilings and the walls — this creates an even more impressive, cohesive look.
Clay-plastered walls can be left natural or varnished with a durable water-based varnish, Mr. Clay Varnish No. 1. Read more about varnishing HERE
There is more than one method for creating a clay plaster wall finish, but in this guide we will cover the most popular and time-tested system.
For single-color finishing throughout the entire home, you can choose any decorative clay plaster:
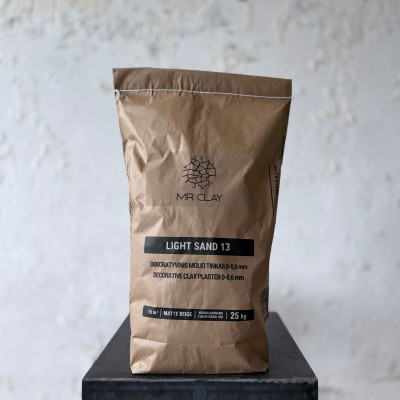
Light Sand 13 decorative clay plaster (light sand–colored base);
White decorative clay plaster (white base);
Brown decorative clay plaster (brown base).
The working principles are the same for all mixtures — only the grain size and the base color differ slightly.


The most popular clay plaster mixture for large surfaces is Light Sand 13:
it dries more slowly;
it is easier to control during application;
it creates more pronounced shading;
the sand content provides additional subtle effects.
Pour 9–11 L of water into a container of at least 35 L, add the full amount of pigment (if tinting), and mix thoroughly with an electric mixer. Then, while stirring, slowly pour in the entire package of decorative clay plaster. Mix well, cover the container, and allow the mixture to soak for at least 30 minutes.
The mixture may seem quite thin at first, but it will thicken later. Mix again before starting the plastering process.
The wet mixture always appears darker than the dry, finished color.
Keep the prepared clay mixture covered in a cool place. It is recommended to use it within 1–2 weeks.
Clay plaster can be applied to the wall using a trowel or a roller designed for applying plaster. If two people are working together, the process becomes much easier and faster — one person rolls the clay plaster onto the wall, and the other spreads and levels it with a trowel.
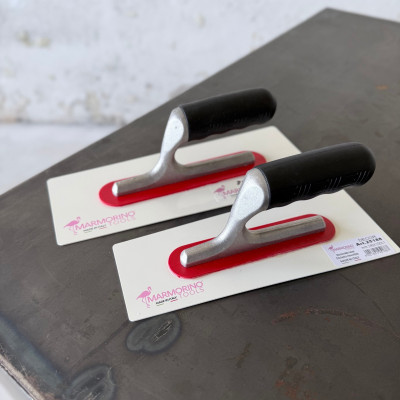
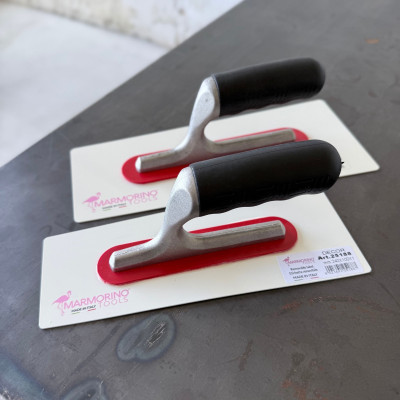
For spreading and smoothing the mixture, you can use a standard trowel or a trowel with a top handle.


For beginners, it is often easier to work with a trowel that has a top handle.
When the first layer of clay plaster has dried, the second layer is applied in the same way. However, this step includes an additional action that creates the beautiful, shaded effect — burnishing the wall with a PVC float. One person applies the second layer, and the other immediately burnishes the entire surface using a Marmorino Tools PVC float (code 25188).

Applying Masking Tape
To ensure neat internal corners, apply Washi protective tape into the corner before plastering the second layer on the adjacent wall. Place the tape not directly in the corner, but 1–2 mm away, so you don’t accidentally peel off the plastered layer. Remove the tape once the adjacent wall is completely dry.

IMPORTANT!
Clay plaster must be applied very thinly — otherwise it will be impossible to burnish it properly.
For right-handed users, we recommend starting from the upper left corner. The easiest method is to apply the plaster in irregular semicircular motions — never in squares and never in straight bands.
Working in pairs is ideal. If you are working alone, we recommend leaving a slightly thicker layer at the edges so the wall dries more slowly and blends seamlessly with the freshly applied mixture. Before starting the finishing work, prime the walls with a deep-penetrating primer.
• What if raised waves appear in the first layer?
Remove the excess mixture and apply the plaster thinner — the waves will disappear or become very minimal.
• What if small scratches appear in the first layer?
Small scratches from marble grains are normal in the first layer. They will be covered in the second layer and will not reappear.
If there are many scratches, the trowel is likely being held too upright — hold the tool flatter and press it more firmly against the wall.
• What if clay plaster doesn’t stick well on outer corners?
Did you prime the outer corners with contact primer? This step is essential.
Also, always trowel from the corner inward, otherwise you may damage the corners.
• Can I stop in the middle of the wall and continue the next day?
No. You must finish the wall from corner to corner in one session — otherwise a visible seam will appear.
Corners will be cleaner and much stronger if you burnish them with a PVC float (code 25188) during the second layer.
Burnish from the corner toward the inner part of the wall.
We wish you success with your walls!
All articles in this blog are the intellectual property of Mr. Clay. If you would like to use any part of the content, please contact us.
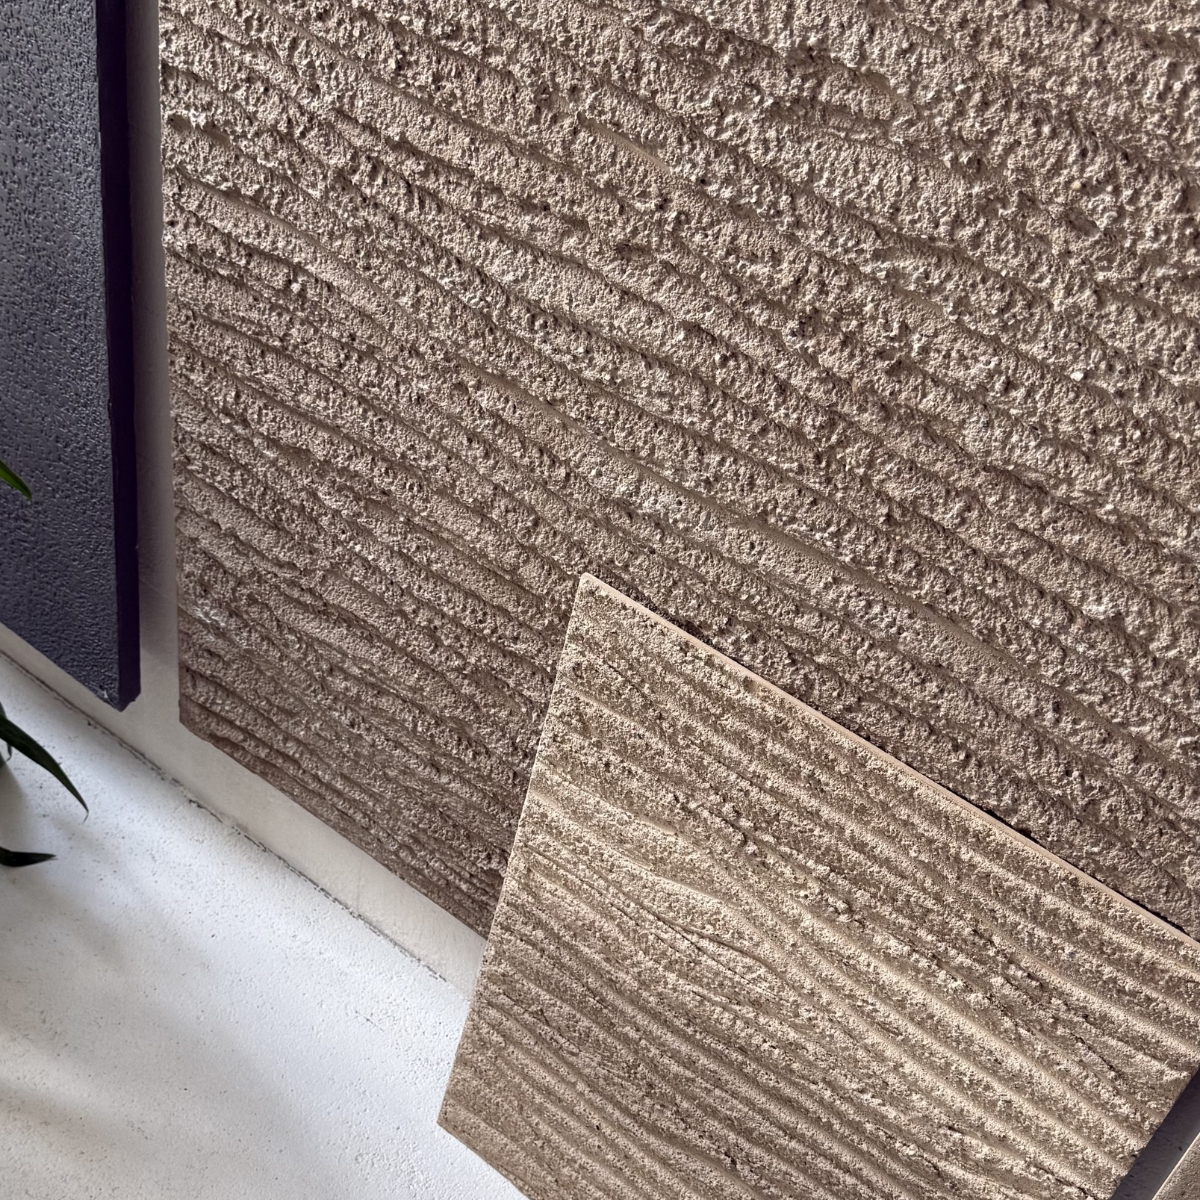
"Dragon" is a decorative finish with a distinctive texture, created using "Svencelė" decorative clay plaster mixed with coarse gravel. The mixture is applied in a single thick layer to form relief waves, and after drying, the surface is wiped with a damp sponge to reveal the pebbles and bring out the unique pattern of the design.
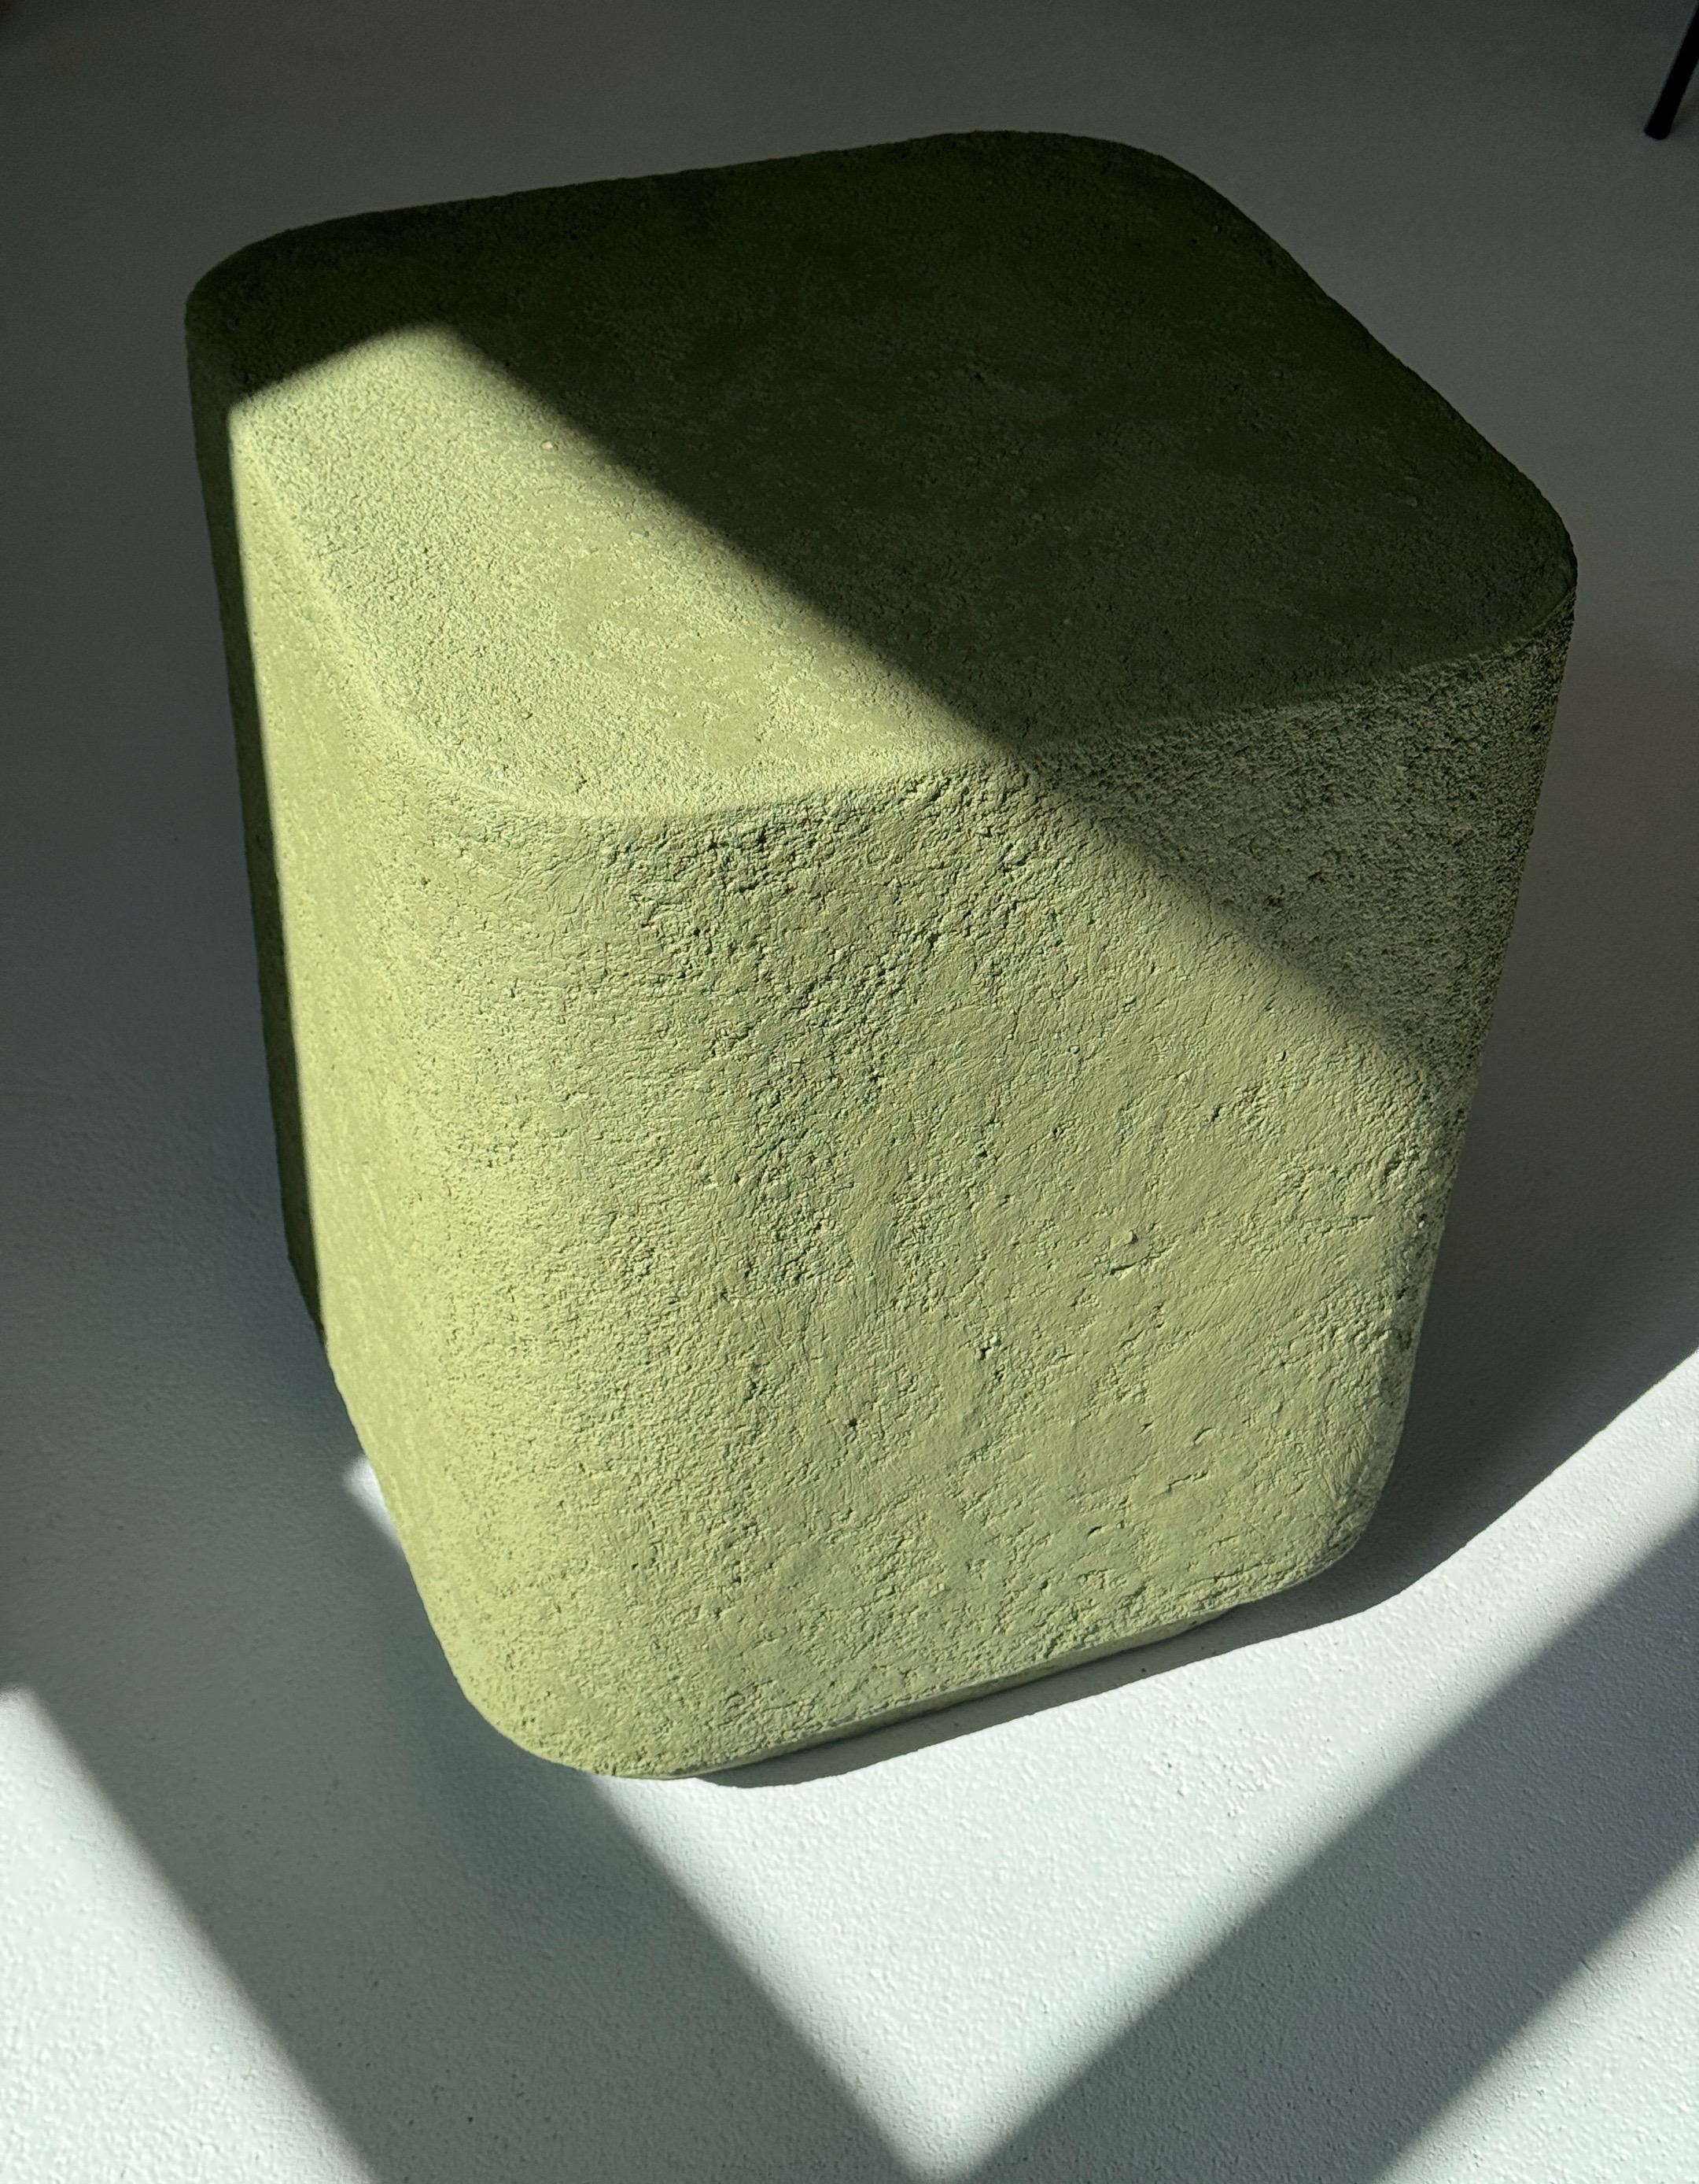
This time, we’re sharing how to create a unique table decoration using clay plaster—we’re sure it will become a standout feature in your home!
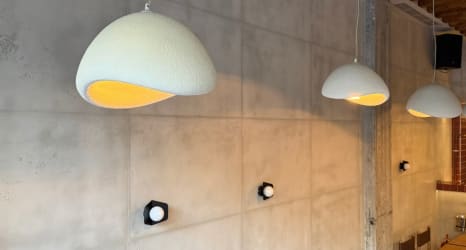
No one will suspect that your concrete is fake!
We share detailed instructions on how to create a concrete imitation decor yourself.

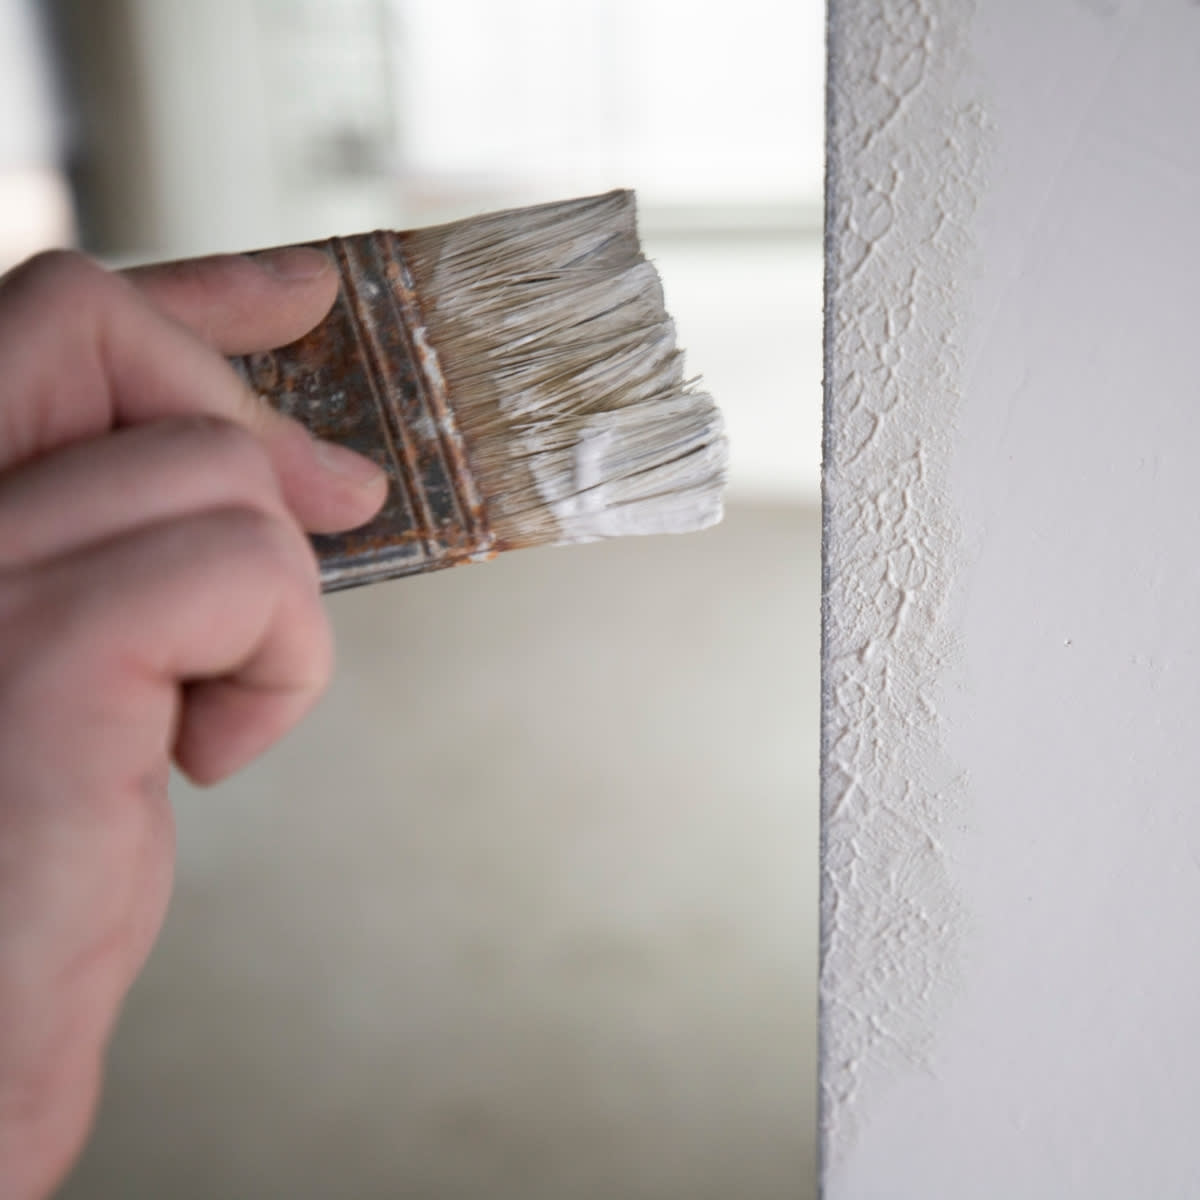
A very beautiful and elegant technique that already adorns many homes. You can see and admire this technique in person on the walls of Ali Šokoladinė in Vilnius — at the Panorama and Europa shopping centers — and in Kaunas at the Mega shopping center.
Wall preparation before working with ClayBeton decorative clay–cement plaster differs from preparation for clay plaster. Please read the information carefully.
It might seem like a minor detail, but choosing the right mixing container is actually the first step toward achieving a high-quality clay plaster finish.

Clay mixtures can be applied to a wide variety of surfaces – whether it’s standard walls, furniture panels, or even a glass vase. The key is proper preparation, so please read our recommendations carefully.

To ensure a smooth and high-quality wall finishing process, it is essential to first organize and prepare the workspace.