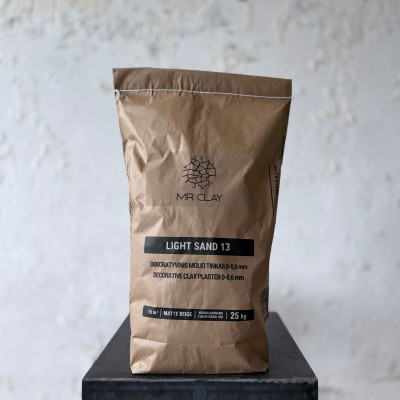

This technique can be done with White Decorative Clay Plaster, Light Sand 13, or even Brown Decorative Clay Plaster if you want more intense colors.
.jpg)
There is more than one way to create this effect, so here are the methods you can use:
The clay plaster should be thicker than what you would use for single-color plastering. Otherwise, the wave pattern you create may “slide” downward.
It is best to add 0.5–1 L less water than the minimum amount indicated on the package.
If it becomes too difficult to apply the plaster to the wall, you can later thin the mixture slightly.
Smoothly trowel the first layer and let it dry;
Smoothly trowel the first layer and create the wave pattern already in the first layer;
Apply the plaster with a roller designed for applying putty, smooth the surface with a brush, and if desired, create waves in the first layer as well.
Smoothly trowel the second layer and create the wave pattern;
Apply the plaster with a putty roller, smooth the surface with a brush, and form the wave pattern.
Smoothly trowel the first layer.
Apply the second layer using a putty roller → smooth with a brush → form the wave pattern.
The second layer is the most important. Applying it with a roller does not flatten the surface, so the waves form in various sizes and look more lively and organic.
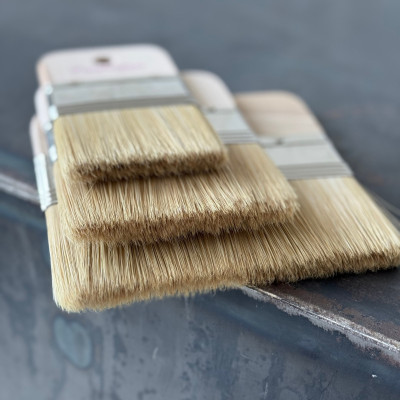
After applying the plaster with a roller, smooth the surface by pressing the brush firmly so that all texture created by the roller disappears.
When forming the waves, the opposite applies — do not press the brush.
Imagine you are lightly tickling someone’s feet with a feather :)
If you press too hard, the waves won’t form and only brush bristle marks will remain.
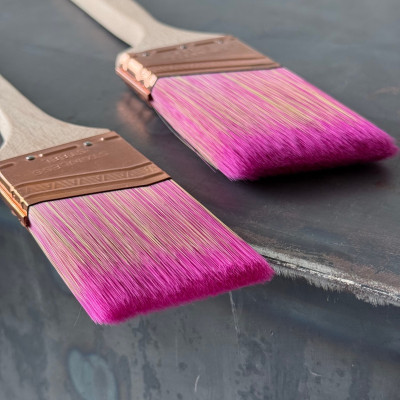
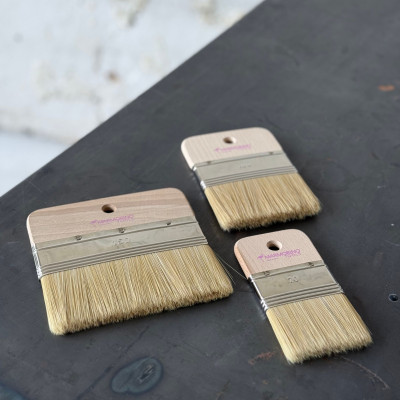
It is easier to create waves with a semi-dry or completely dry brush.
You can use the same brush for smoothing before forming the waves, but do not rinse it with water.
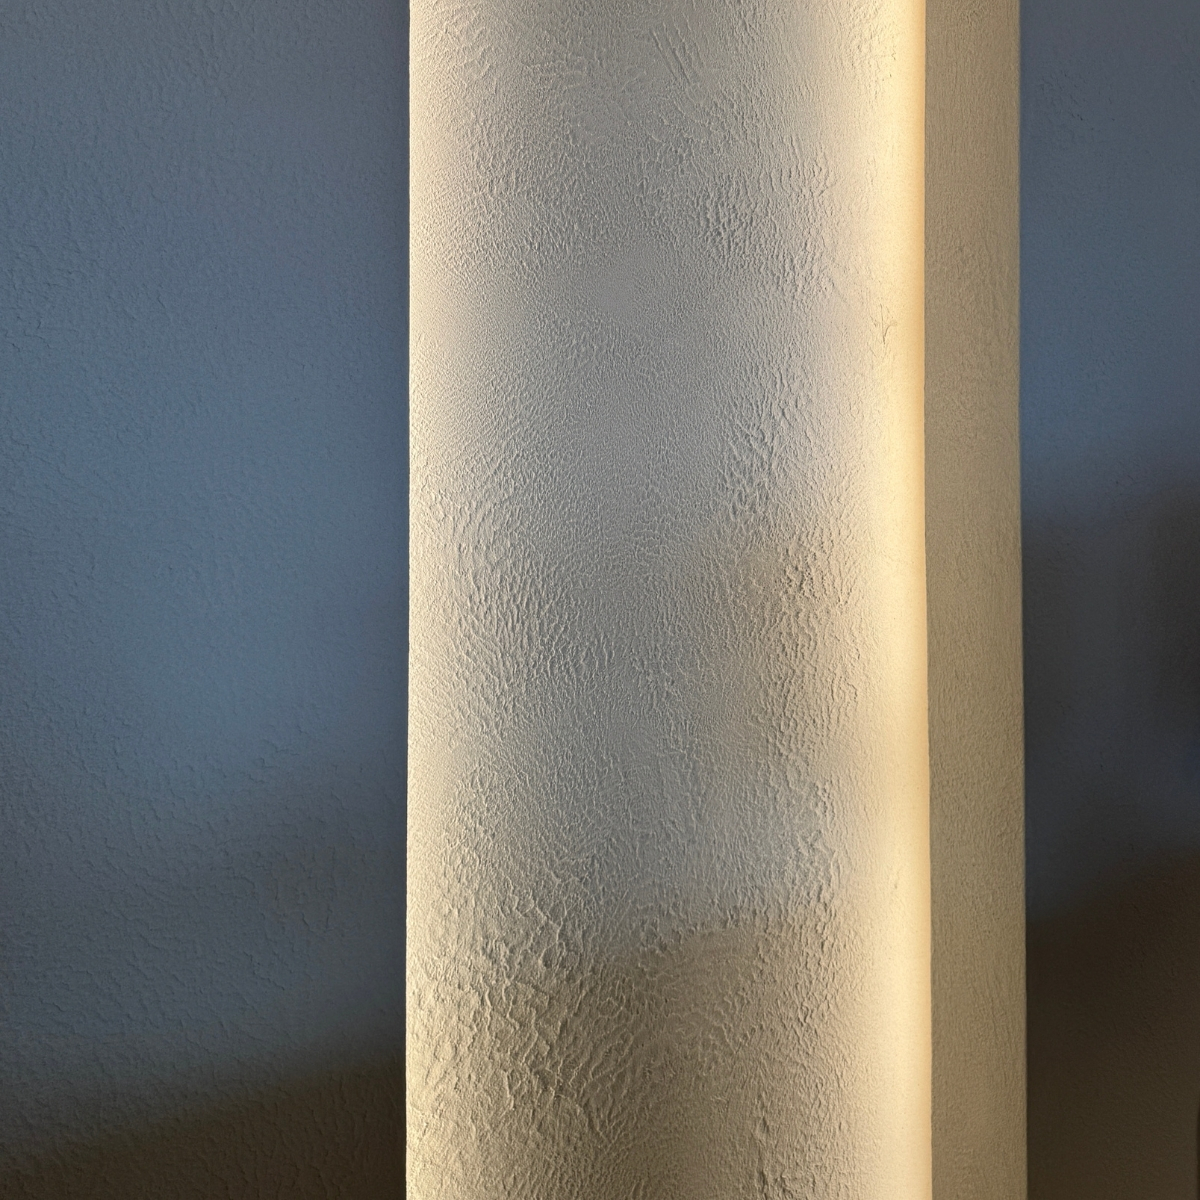
When the wave pattern becomes matte, the water has absorbed, and the waves have slightly firmed up, gently glide over the entire wall with a damp brush, held horizontally.
Do not press too hard at first — make sure the waves do not collapse, especially if the pattern is larger.
This step is optional, but without it, the waves may look a bit rough, uneven, or fuzzy.
A damp brush beautifully unifies the whole surface.
Clay plaster walls can be left natural or varnished with the durable water-based Mr. Clay Varnish No. 1.
Read more about varnishing HERE
That’s it! As simple as one-two-three. Good luck with your walls!
All articles in this blog are the intellectual property of Mr. Clay.
If you would like to use any part of the content, please contact us.
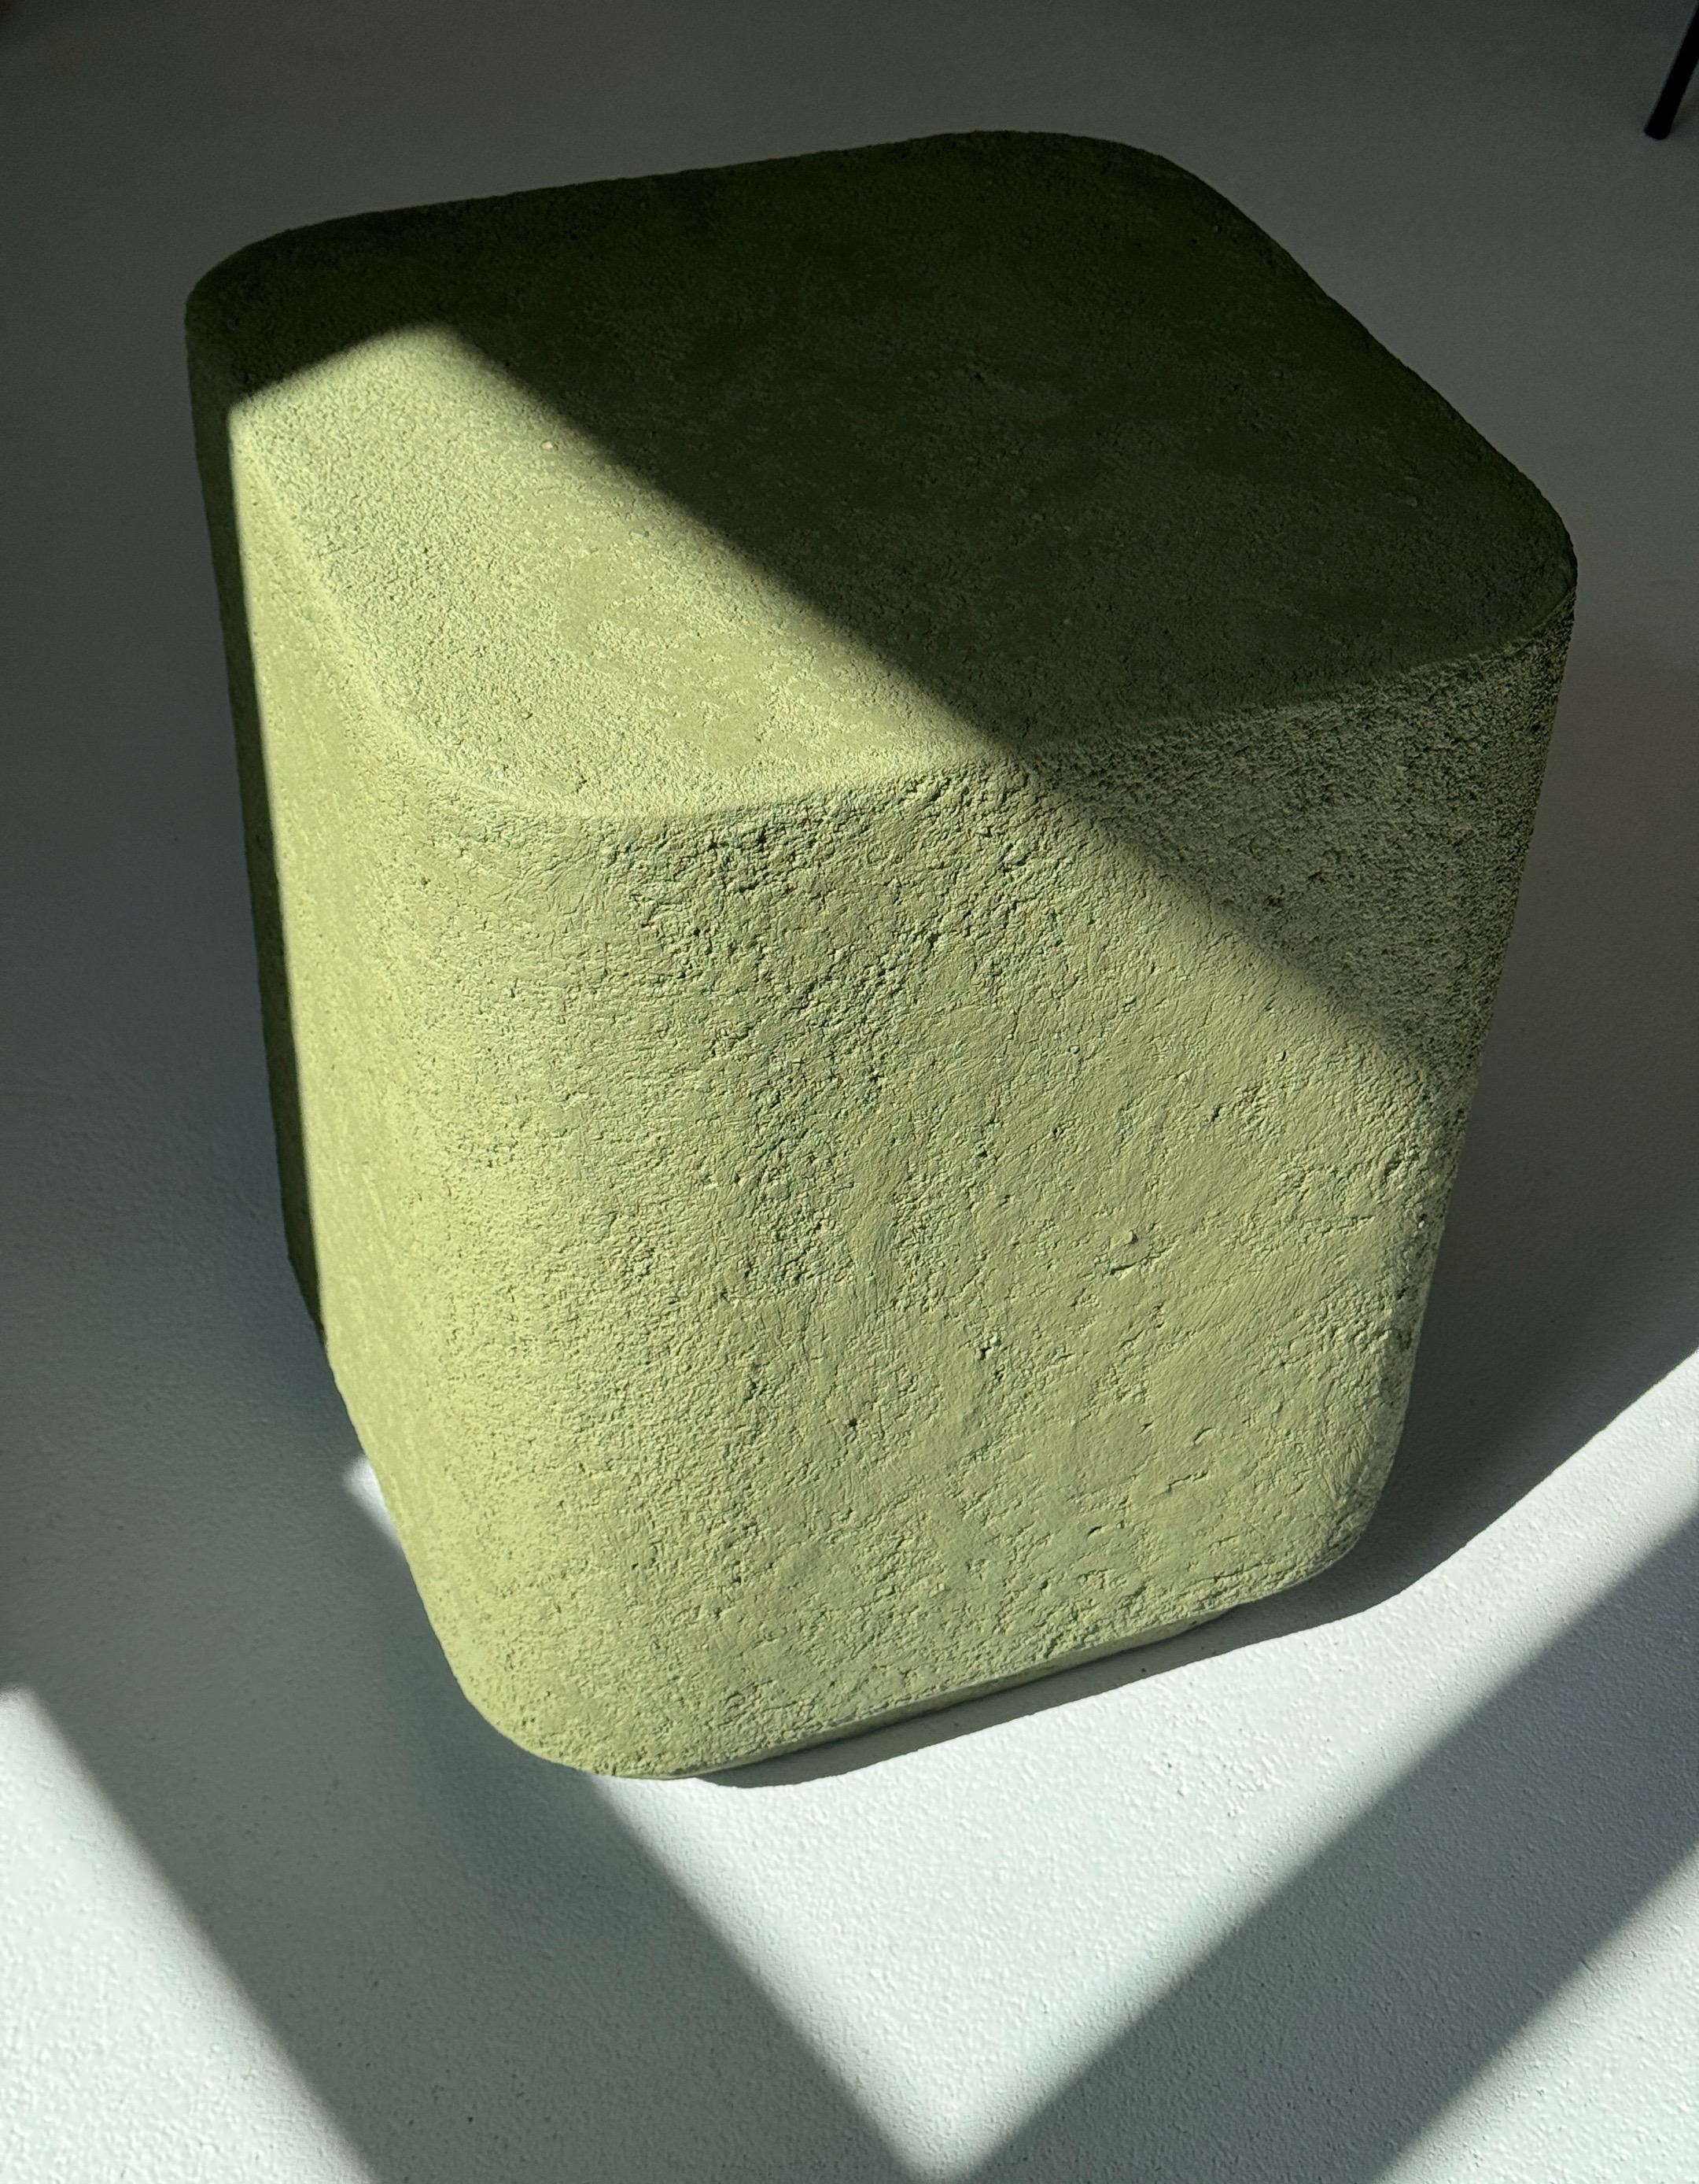
This time, we’re sharing how to create a unique table decoration using clay plaster—we’re sure it will become a standout feature in your home!
No one will suspect that your concrete is fake!
We share detailed instructions on how to create a concrete imitation decor yourself.

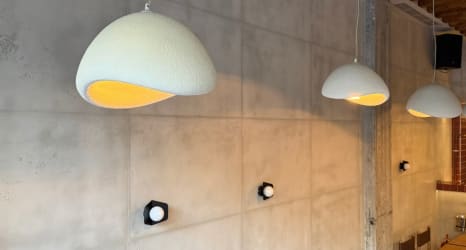
Single-color plastering of all walls and ceilings with decorative clay plaster is a very beautiful alternative to traditional wall painting. Today in Lithuania, there are many professional craftsmen who offer this type of finish, but the best part is that anyone who is willing and has the time can truly do it themselves. Read all our recommendations to achieve the best possible results.