Clay plaster in the sauna | Read Evaldas' story
We invite you to read about how Evaldas managed to cover the walls of his sauna with clay plaster and what challenges he faced when plastering the doors and furniture.
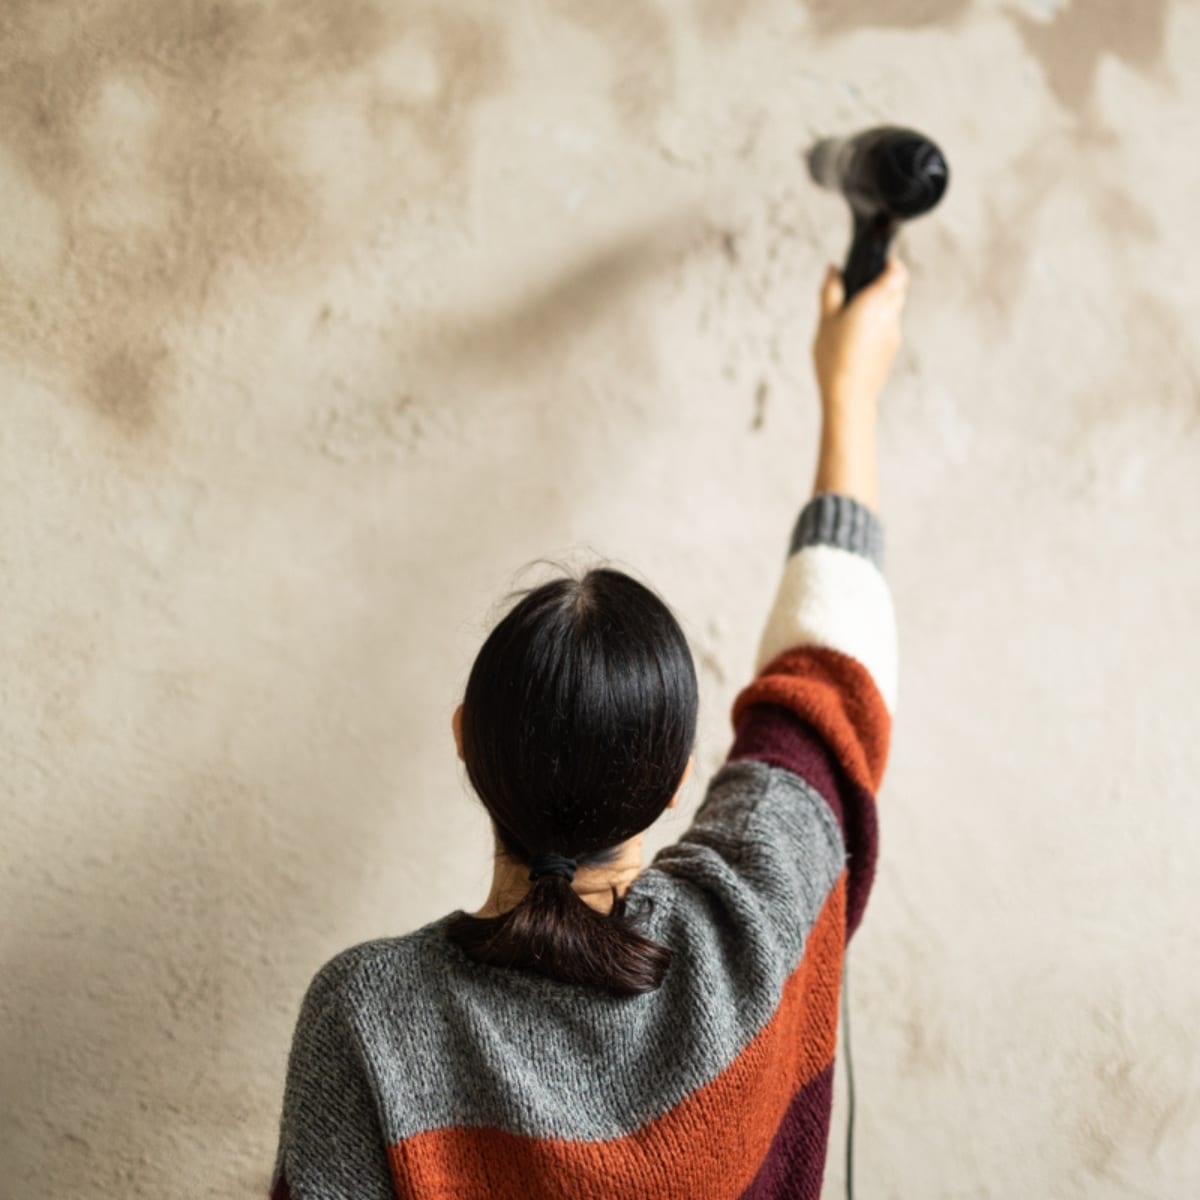
A few years ago, I decided to build a sauna in the countryside. The main idea was to use clay plaster as widely as possible and see how it would perform in truly extreme conditions. So, the plaster was used not only on the ceiling and walls, but also on the doors and furniture facades.
The most extreme place is the shower. The shower area itself is, of course, tiled, but that's all. Water finds its way out through the gaps in the door, so the corners near the shower door always remain wet. It may not be very aesthetic, but it dries out and everything is as it was.
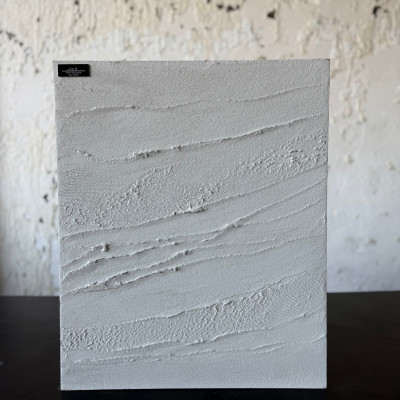
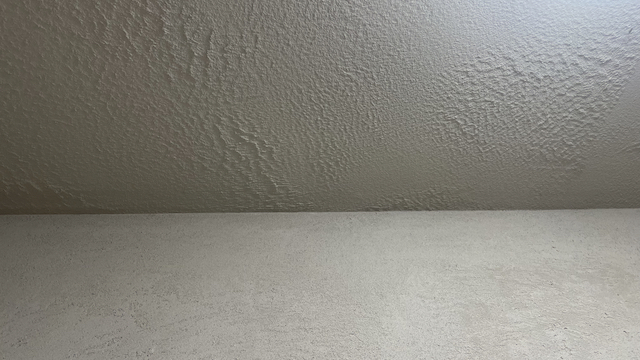
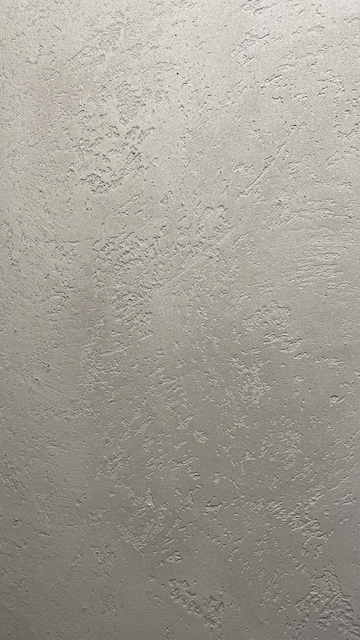
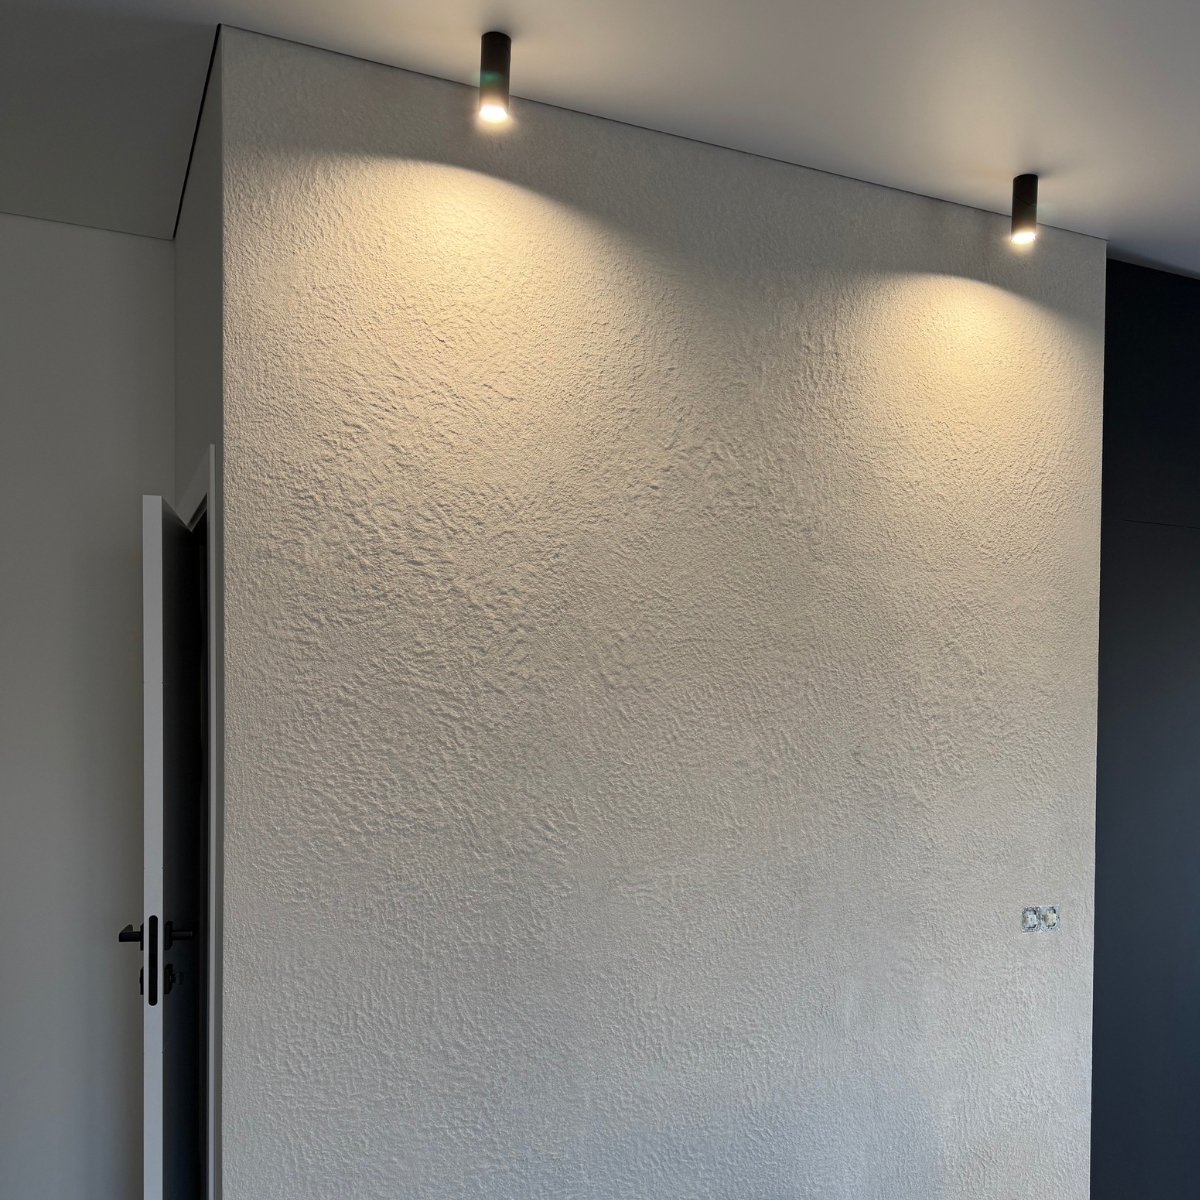
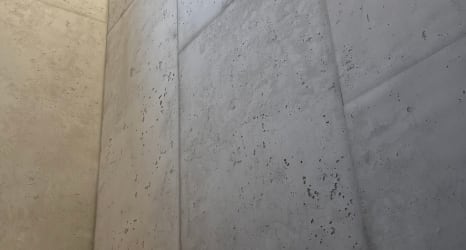
Techniques used: Simple plastering on the slopes of the ceiling and three walls of the porch. Uncovered, when using the sauna in winter, when ventilation is not possible, the humidity in the room exceeds 90%, and the corners, plaster joints, and screw holes begin to darken. The other remaining wall was plastered with gravel, and it was difficult to deal with the moving stones during plastering, but everything was fixed with a sponge. This wall was primed and varnished. It is completely unaffected by the high humidity. The ceilings of the hallway, toilet, and shower room are plastered with waves (uncovered), and the walls and doors are plastered using the svencelės technique (I think that's what it's called). The plaster with gravel is applied and covered with plastic. These walls have also been primed and varnished. It is definitely resistant to everything, although the plaster around the steam room door itself is starting to darken.
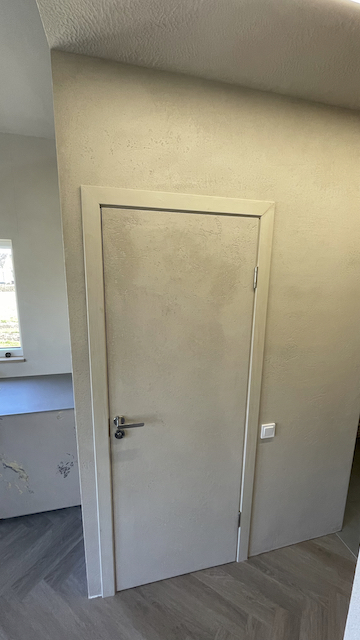
A little about the door - I chose the cheapest door for this experiment. I painted it the same way as the walls, but the question arose of what to do with the door frame and trim. I decided to use clay paint of the same color, but the problem was that it didn't stick to the wood very well, so I had to paint it many times.
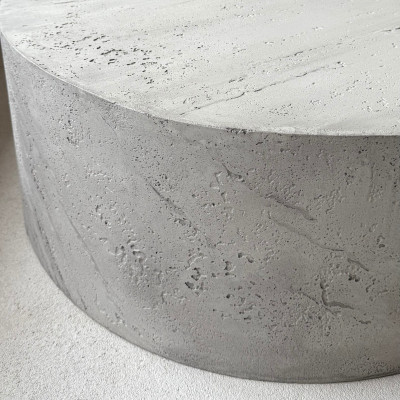
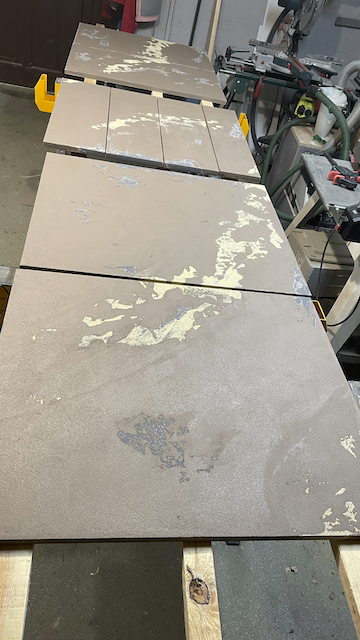
And then there was the furniture. Since I did everything myself in this construction project, from the design to the final touches, the furniture was no exception. It was made from MDF boards, I painted the frames with simple furniture paint, and used clay plaster (primed and varnished) for the facades. The hardest part was probably plastering everything on one plane so that I wouldn't lose the pattern. I used three colors, but I mixed up the order of the same colors in the kitchen and toilet cabinets.
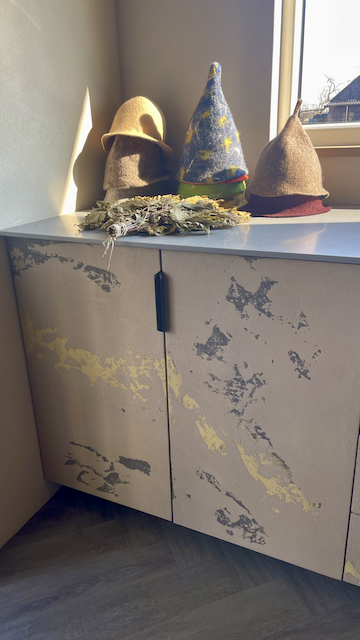
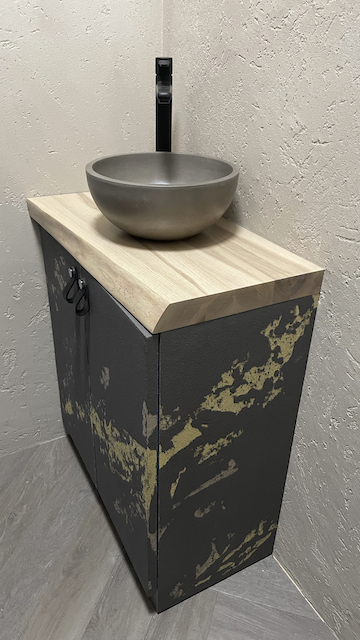
I am satisfied with the result, it has been in use for a year now and I have no major complaints. Would I use it for the facade of my everyday kitchen? Probably not. We cook food there, and sometimes the porridge spills not only from the pot, but also over the facades :)
That's my story and experience with building a sauna.
In answer to the question of whether I would change anything, I would varnish all the clay-covered surfaces in a building where the humidity exceeds 90%, but it's not too late... But now I'm too lazy, I want to enjoy the pleasures of the sauna and no longer pay attention to the darkening walls :)
So, come on in to the sauna!
Related Posts
Laura decided to try her hand at creating a wave pattern with clay plaster. Although she initially made some mistakes, they ultimately helped achieve an even more striking accent wall.
Sandra and her husband's work has nothing to do with wall finishing, but their example proves once again that with our products, you can do your own wall finishing.
Help others discover the joy of natural wall finishes – share your experience working with clay plaster, and we’ll gift you a €150 voucher for any of our wall decoration training modules. You can use it yourself or give it to a friend!
Help others discover the joy of natural wall finishes – share your experience working with clay plaster, and we’ll gift you a €150 voucher for any of our wall decoration training modules. You can use it yourself or give it to a friend!
Related Products