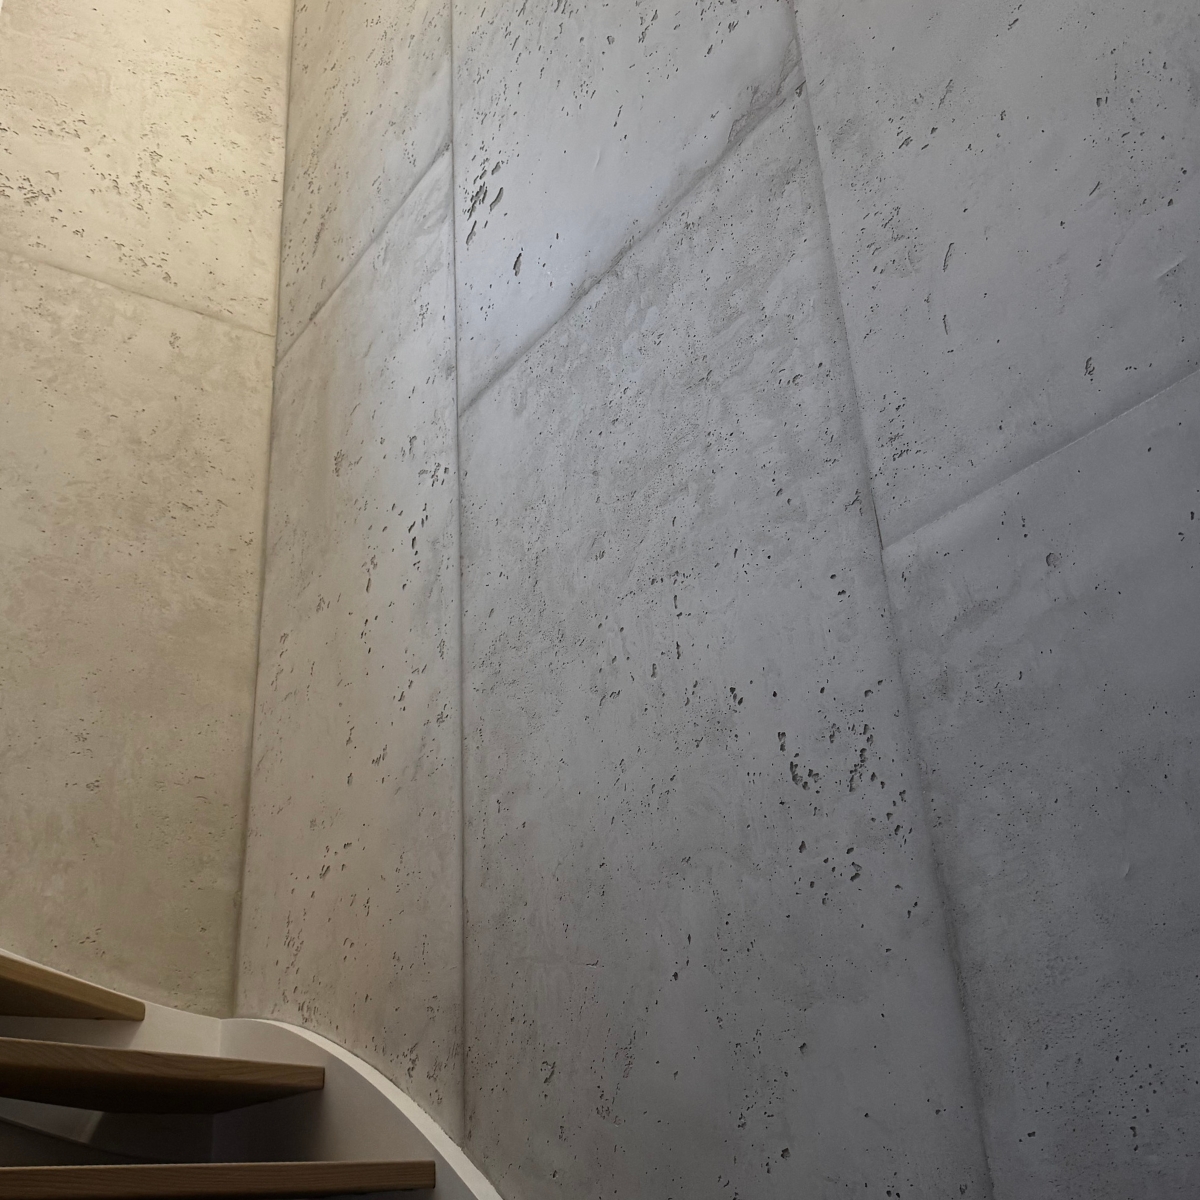
Modern Concrete Effect Décor with ClayBeton
25 November 2025
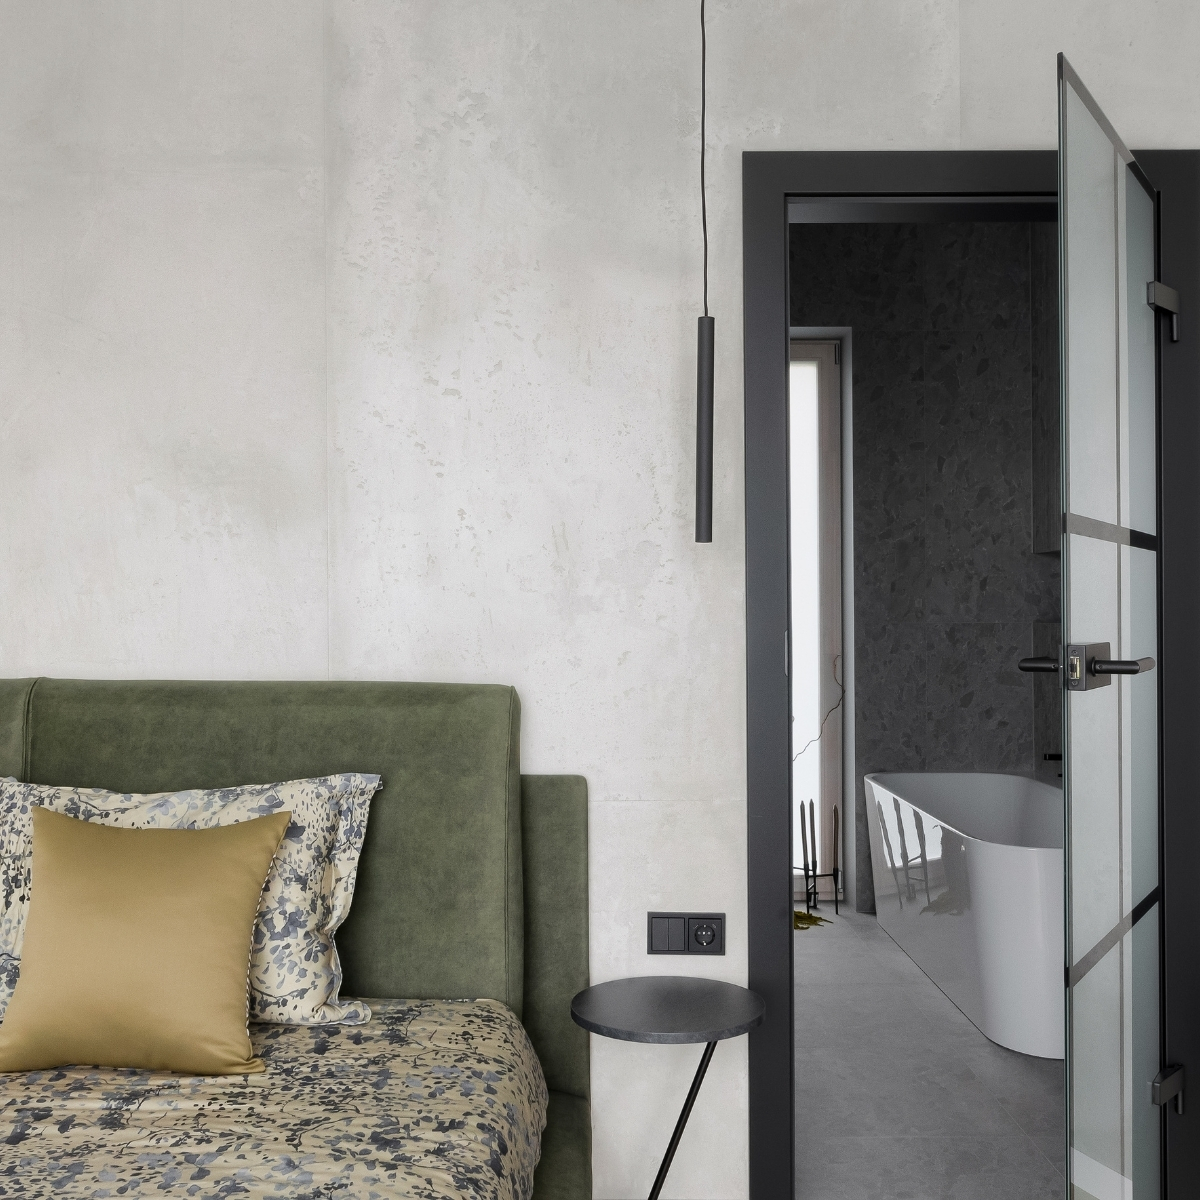
ClayBeton decorative plaster is intended for decorative interior wall finishing in residential and commercial premises. The product is vapor-permeable and absorbs liquids, therefore it is only suitable for use in dry rooms where there is no direct exposure to water/dirt/grease. To improve its performance, it is necessary to additionally coat it with MR. CLAY Varnish No. 1.
- Classic/decorative clay plaster;
- Gypsum/cement/lime plaster;
- Gypsum plasterboard;
- Gypsum fiberboard;
- Cement, sawdust, and other building boards
- intended for plastering or skimming;
COMPOSITION
A dry mixture of white clay, marble, cement, and technological additives. The components of the mixture are not harmful. Mix with water.
ALL ABSORBENT SURFACES MUST BE PRIMED WITH A HIGH-CONCENTRATION DEEP PRIMER (ARDEX P51 diluted with water in a 1:1 ratio) AND ADDITIONALLY WITH TOP COATING WITH A BOND ENHANCING PRIMER.
NON-ABSORBENT SURFACES MUST BE PRIMED WITH A BOND ENHANCING PRIMER.
MIX CONSUMPTION
7-9 m2 / 4-7 mm/ 25 kg. in one layer
PROPERTIES
- Long working time of the mixed mixture ~2-3h;
- Fast working processes;
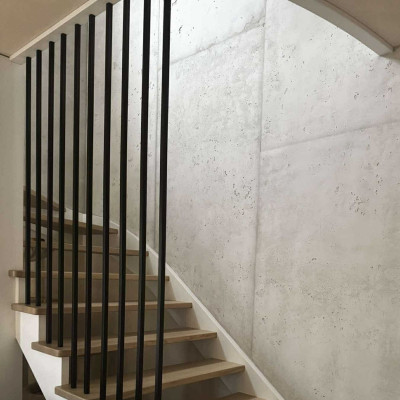
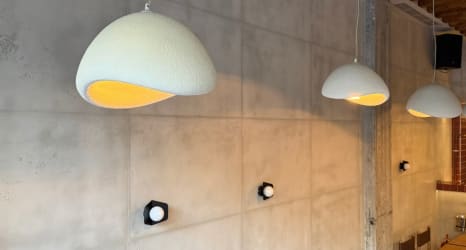
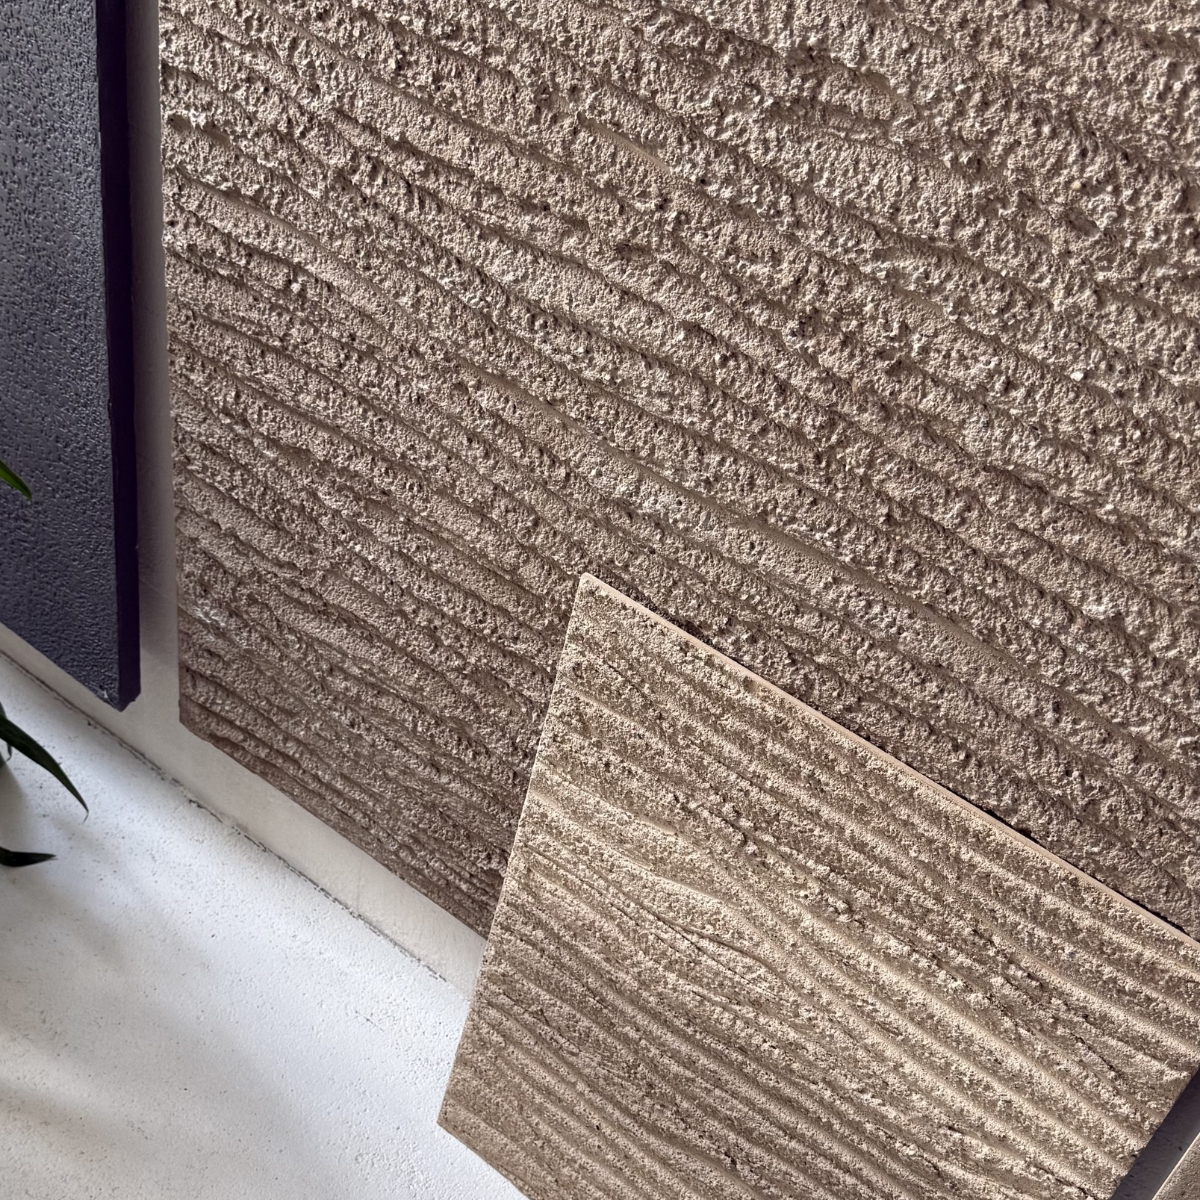
- Very beautiful decorative effects of concrete, travertine stone, etc. can be achieved with just one layer;
- 100% vapor permeable;
- No volatile organic compounds;
- ClayBeton plaster is non-flammable – flammability class A1;
- The mixture is alkaline, pH 11.47 – protective gloves must be worn during work;
THE MIXTURE MUST BE APPLIED TO THE WALLS WITHIN 2-3 HOURS, AFTER WHICH IT WILL HARDEN AND NO LONGER BE SUITABLE FOR USE.
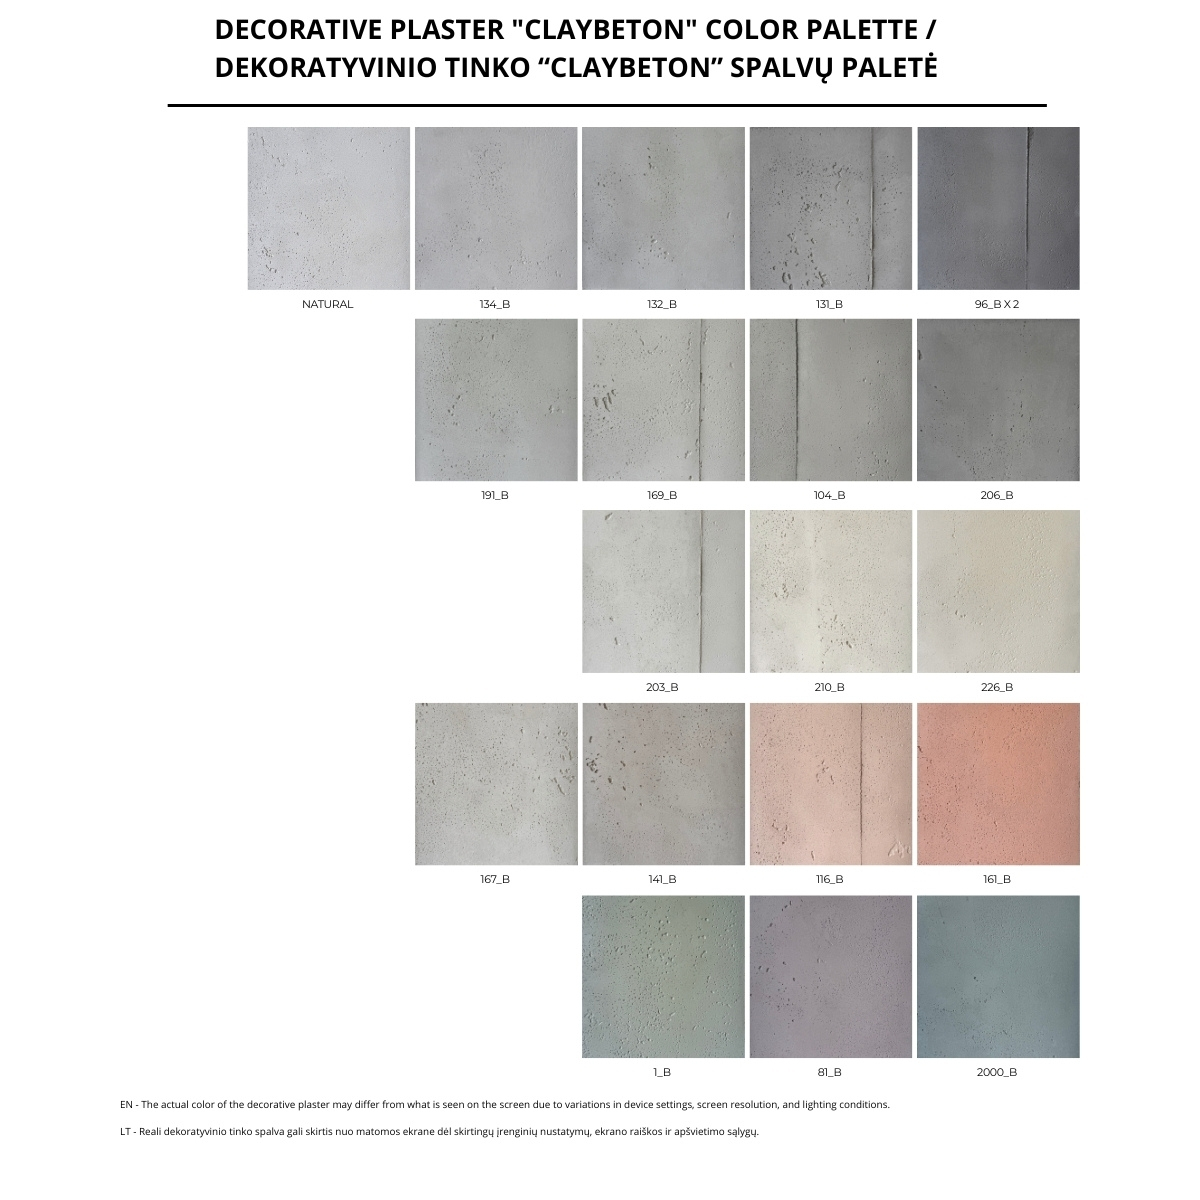
COLORS
The base of the mixture is light gray, and the sample color palette contains 19 colors, but you can tint it yourself with any other color pigment from more than 100 different MR. CLAY shades designed for all mixtures.
APPLICATION ON WALLS/TOOLS
The plaster can be applied to walls using standard plastering tools. To achieve an even layer, we recommend first using a comb-type trowel (6-8 mm) and then smoothing with plastering tools.
APPLICATION SYSTEM
ClayBeton decorative plaster is applied in a single layer, 4-8 mm thick. The decorative surface is formed only on the surface by applying a special polyester sheet.
DRYING TIME
Depending on the ambient temperature, humidity, and size of the area being plastered, drying can take 12 to 24 hours. If the polyester sheet is removed earlier, the surface may not form.
WALL PREPARATION FOR FINISHING WORK
When working with ClayBeton mixture, it is very important not only to level the surfaces properly, but also to prime them. Strictly follow all recommendations to obtain a concrete-like surface that adheres firmly to the base and is uniform in color.
Preparation of gypsum/lime/cement plaster:
If the leveling plaster on the walls is evenly coated, has no protruding or indented defects, such a surface does not need to be smoothed. Proper priming is sufficient. Prime cement/lime plaster with a contact primer with quartz sand filler, carefully covering the outer corners. Prime gypsum plaster with Ardex P51 deep primer (dilute with 2 parts water) and additionally prime with a contact primer with quartz sand filler.
Preparation of gypsum plasterboard panels:
In most cases, walls do not need to be completely plastered before ClayBeton finishing work, but joints, corners, and fastening screws must be carefully smoothed and evenly aligned with the surface. There should be no dents or bumps on the surface, no visible paper strips or aluminum corners. It does not matter what materials are used to prepare the plasterboard panels. Follow the systems recommended by the specific panel manufacturer. The most important thing is to prime the plasterboard panels properly. First, prime the surface with Ardex P51 deep primer (dilute with 1 part water) and then prime again with contact primer with quartz sand filler. If you prime with a penetrating primer that is too weak, lighter-colored stripes may appear at the plastered joints due to different drying times, replicating the joints.
Preparation of concrete structures:
The substrate must be stable, load-bearing, and free of loose particles. First, prime the surface with Ardex P51 deep primer (dilute with 4 parts water) and then prime again with contact primer with quartz sand filler. For other surface preparations or if you have any questions, please contact the Mr. Clay team directly.
*Explanation of mixing Ardex P51 primer with water: for example, a ratio of 1:2 means that 1 part primer will be mixed with 2 parts water.
PREPARATION PROCESS
Prepare the surface to be decorated according to the recommendations. Protect adjacent walls, ceilings, and floors with protective tape and paper. Cut the polyester sheet into sheets of the required dimensions in advance. The standard size is 1.25x2.05 m.
Mix ClayBeton plaster with water - 25 kg / 8 - 8.5 kg of water.
The working time of the mixture is 2-3 hours, after which it will harden due to the cement in its composition.
PLASTERING PROCEDURE
Apply plaster 0.4-0.7 mm thick to part of the wall, according to the size of the polyester sheet you are going to apply
Please watch the video on how to create a concrete imitation decor:
Do not thin the plaster layer at the outer and inner corners, otherwise the desired surface will not form and the corners will peel off when removing the polyester sheet.
When you feel that the polyester sheet is no longer sliding on the surface, start shaping the plaster under the sheet. This can be done in several ways:
- with a metal trowel;
- by stroking with your hands using stronger movements;
- with a roller, rolling vigorously in all directions;
Be sure to remove any mixture that has spilled outside the polyester sheet in the corners while it is still wet.
The more you push the mixture under the sheet, the smoother it will be, so don't overdo it if you want to leave some uneven areas. Make sure that the polyester sheet adheres well everywhere. The tape can be removed no earlier than after 12 hours and no later than after 24 hours. Allow the wall to dry and do not touch it with your hands while it is still wet.
POLYESTER SHEET REMOVAL PROCEDURE
Carefully lift one corner of the polyester sheet and slowly peel it off the entire surface.
The wall surface may be matte in some places and glossy in others. After sanding, the wall will become uniformly matte. You can wash the polyester sheet and use it again, but keep in mind that if the sheet is scratched, bent, or broken, this may be reflected in your decor.
REDECORATING
If you are not satisfied with the decor, you can redecorate on top of it after priming the existing surface with a deep primer. After removing the polyester sheet, the surface does not need to be polished.
SURFACE VARNISHING
Although walls decorated with ClayBeton plaster are quite hard due to the cement in their composition, the surface is still absorbent, so varnishing is necessary to improve their performance.
Matt, resistant Mr. Clay VARNISH No. 1 varnish. Can be varnished directly onto all clay
plaster mixtures and ClayBeton decorative plaster in one or more layers.
For priming/varnishing, we recommend using a STORCH DuraStar 12 roller, which distributes the applied materials very evenly.
The Storch DuraSTAR 12 roller is ideal for priming walls before finishing work and for priming and varnishing already decorated walls.
This varnishing system is not suitable for use in areas where direct water will run, such as in showers or near bathtubs. Do not use any other tools (such as brushes) to apply the varnish.
Do not round off the inner/outer corners, as these areas will be darker.
Protect adjacent walls at the corners with Washi protective tape so that when rolling with a roller, it does not touch the corners of the adjacent walls, as these areas will also be darker. If it is necessary to varnish adjacent walls at the same time, we recommend placing a putty knife in the inner corner. Varnish evenly, increasing the area with a sufficient amount of varnish. The varnish can be sprayed with special equipment. In this case, the varnish can be diluted with 5-10% water.
Watch the video on how to varnish walls correctly:
Related Posts
02 July 2026
"Dragon" is a decorative finish with a distinctive texture, created using "Svencelė" decorative clay plaster mixed with coarse gravel. The mixture is applied in a single thick layer to form relief waves, and after drying, the surface is wiped with a damp sponge to reveal the pebbles and bring out the unique pattern of the design.
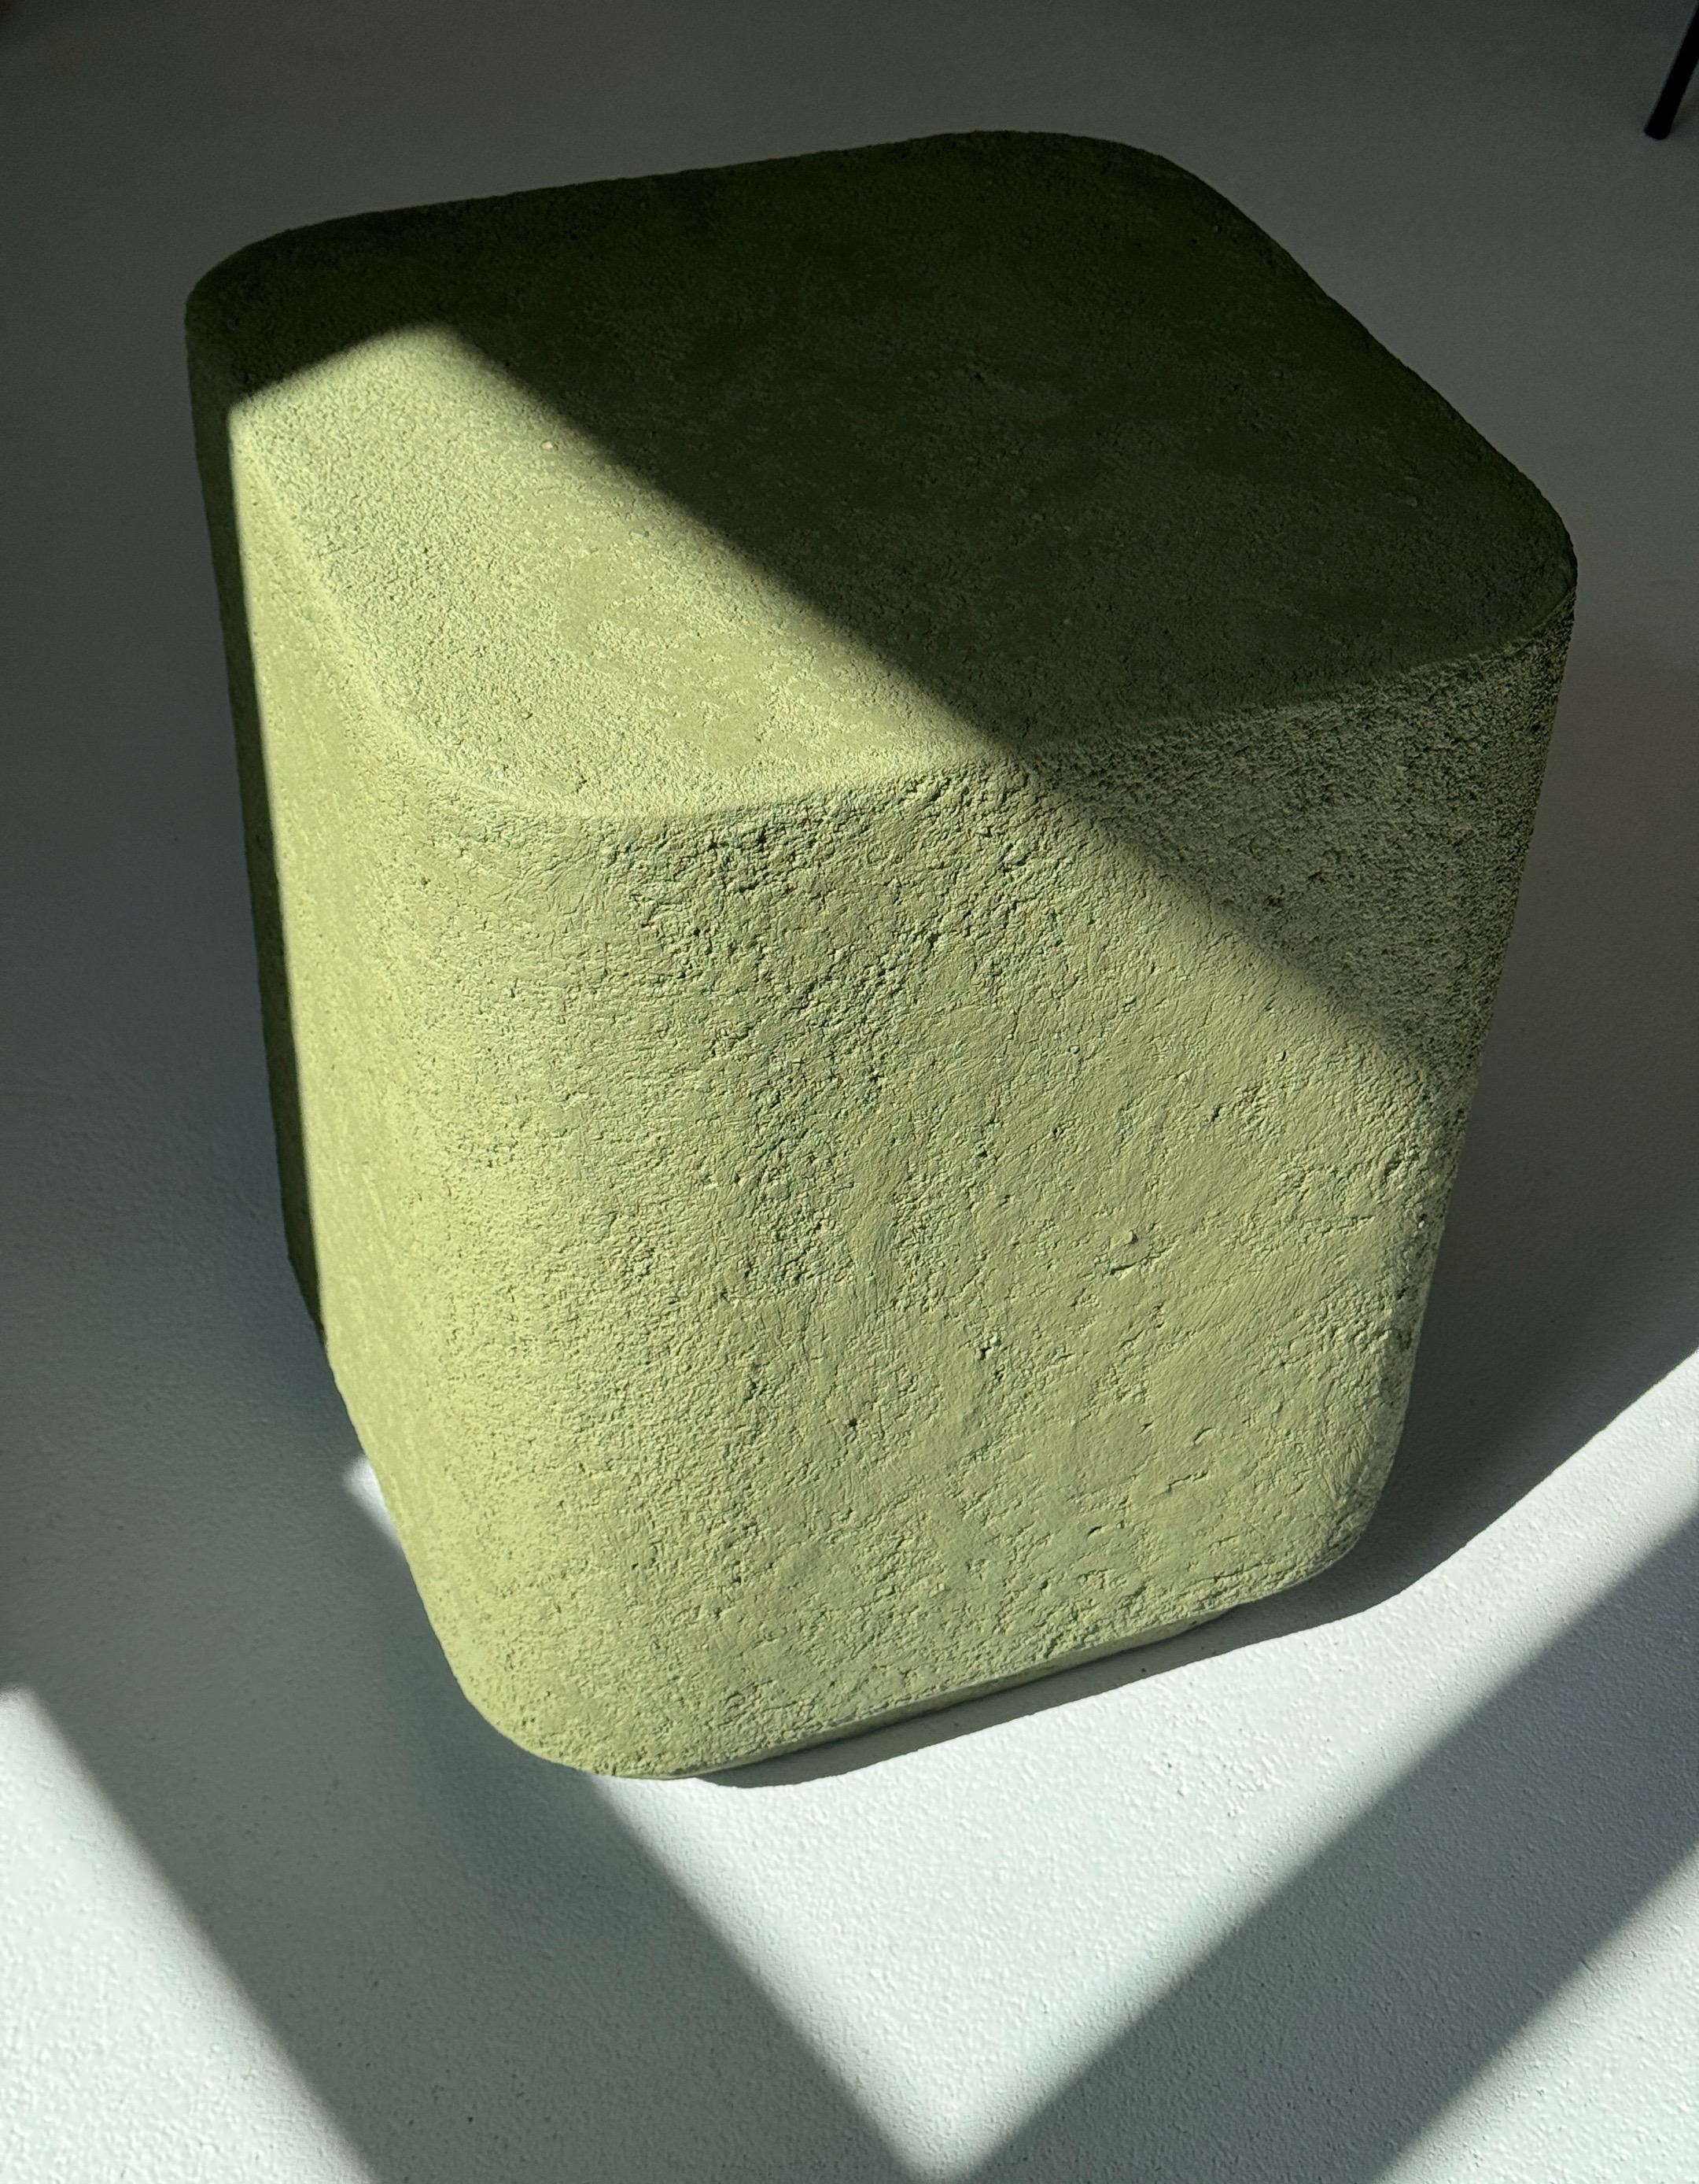
20 April 2026
This time, we’re sharing how to create a unique table decoration using clay plaster—we’re sure it will become a standout feature in your home!

01 July 2025
A very beautiful and elegant technique that already adorns many homes. You can see and admire this technique in person on the walls of Ali Šokoladinė in Vilnius — at the Panorama and Europa shopping centers — and in Kaunas at the Mega shopping center.

25 June 2025
Single-color plastering of all walls and ceilings with decorative clay plaster is a very beautiful alternative to traditional wall painting. Today in Lithuania, there are many professional craftsmen who offer this type of finish, but the best part is that anyone who is willing and has the time can truly do it themselves. Read all our recommendations to achieve the best possible results.
Related Products

