


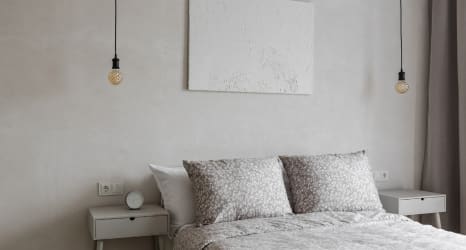
“AGED” WALL + VIDEO
A simple yet very beautiful technique that you can easily do yourself.
Get the complete wall decorating kit at a lower price.
The materials are suitable for an area of 20–23 m².
To increase the wall’s resistance to friction and liquids, we recommend finishing it with Varnish No. 1.
A simple yet very beautiful technique that you can easily do yourself.
Get the complete wall decorating kit at a lower price.
The materials are suitable for an area of 20–23 m².
To increase the wall’s resistance to friction and liquids, we recommend finishing it with Varnish No. 1.

Safe purchase
.svg)
Home delivery

Refund
Materials and tools needed for approximately 23 m² of wall:
IMPORTANT: The shown colors are for reference only.
If you are interested in a wall in other shades, we recommend ordering our color palette for home viewing or visiting our physical stores in Kaunas, Vilnius, or Geistariškės (Alytus district).
For this decorative clay plaster wall, Mr. Clay white decorative clay plaster was used, mixed with 199_B pigment.
For toning, the same mix was combined with 82_B (warm gray) and 141_B (brownish) pigments.
Colors can be adjusted individually.
Mix preparation
Pay special attention to the mixing process, as it will directly affect the quality of the plaster.
In a container of at least 35 L, pour 8–9 L of water, add the entire pigment (if tinting), and mix thoroughly with an electric mixer.
Some pigment labels indicate the presence of red mineral pigment, which is more difficult to dissolve. For those colors, it is recommended to pour the entire pigment container into the water through a fine sieve, pressing it gently with a spoon to avoid clumps.
Continue mixing while adding the entire bag of finishing clay plaster. Mix thoroughly, cover the container, and let the mixture rest for at least 30 minutes.

The mixture may initially appear runny, but it will thicken over time. Before starting the plastering work, mix again and, if needed, add a bit more water.
Creating wall texture
This technique does not require advanced plastering skills – in fact, the goal is to apply the mixture unevenly, occasionally adding fine gravel, which helps prevent over-smoothing.
Smooth out any roughness or gravel scratches with a damp sponge – moisten it and wring it well.
Using gentle, plastic motions without applying much pressure, even out a section of the surface.
The next step is to create a wave-like texture, achieved by lightly brushing the wet plaster surface with a dry brush in quick, gentle motions.
The wave effect will not appear if you press the brush too hard.
You can also add raised effects in some areas by dabbing a bit of plaster with a sponge.
Continue plastering the rest of the wall, making sure not to let the edges dry, so that no visible joining lines appear.
Repeat all steps and remember: pressing the sponge too firmly will not smooth the surface – it will instead leave its own distinct texture.
Wall toning
If you wish to achieve a natural cracked effect, dry the surface using forced drying (e.g., with warm airflow).
Once dry, rub the wall with another chosen color so that all raised parts and textures gain depth and contrast.
You can use one or multiple complementary shades.
The kit includes 82_B and 141_B pigments, as well as two 1 kg packages of clay plaster for mixing with pigments.
To apply the toning, tap the sponge into the tinted plaster, absorbing only the color (not the mixture itself).
Gently rub the surface without pressing the sponge against the wall.
If you press too hard or take too much plaster, a stain may appear.
If that happens, let it dry and repeat the toning process using the same color as for the base coat.
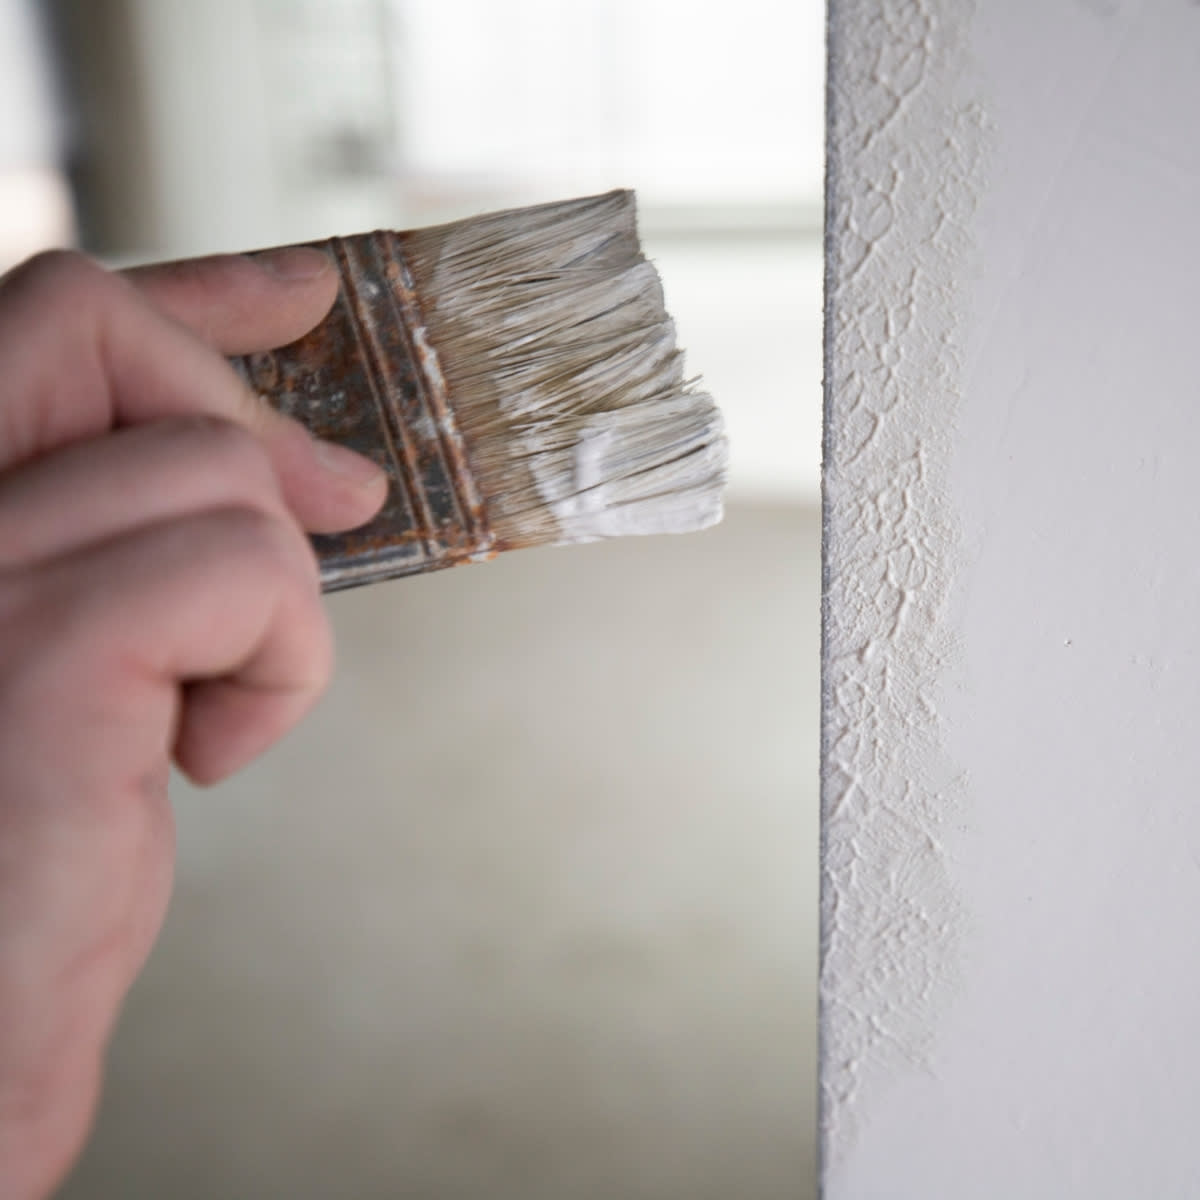
Varnishing
If you want a durable, liquid-resistant surface, finish the wall with Mr. Clay Varnish No. 1.
We wish you success with your wall project — and remember, it’s always best to start with a small test sample first.
This decorative technique is taught in Module II of our training program.


Clay mixtures can be applied to a wide variety of surfaces – whether it’s standard walls, furniture panels, or even a glass vase. The key is proper preparation, so please read our recommendations carefully.
When working with the ClayBeton mixture, it is essential not only to level but also to properly prime the decorated surfaces. Carefully follow all recommendations to achieve a surface that adheres firmly to the base and results in an even, consistent concrete-effect finish.
Clay plaster is completely natural and vapor-permeable, making it an excellent choice for those seeking the healthiest solutions for their home interiors. At the same time, depending on each client’s needs, all surfaces can be varnished to create a highly durable and beautifully decorative finish.
Clay mixtures can be applied to a wide variety of surfaces – whether it’s standard walls, furniture panels, or even a glass vase. The key is proper preparation, so please read our recommendations carefully.